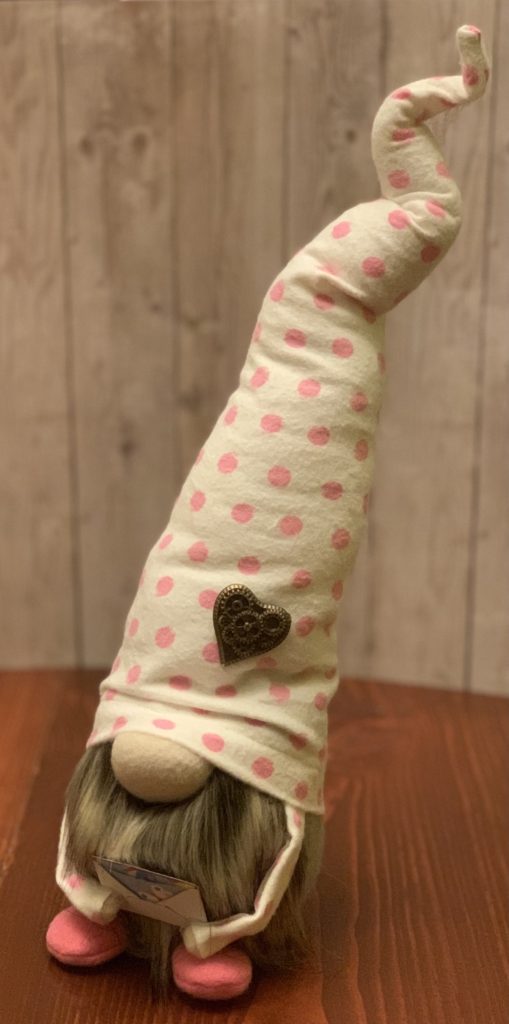
A couple Christmases ago, we made sock gnomes as a family craft project. The boys each made their own and we eventually convinced the hubs that he HAD to make one too. So he did. Fast forward one year to 2019, my family came to visit and fell in love with the gnomes. We had another crafting night with mom and sis and they each made themselves a sock gnome and my gnome ended up taking a trip back to Texas. <3
Making another gnome has been on my list and I finally was inspired to make Valentine’s Day inspired gnomies. Keep reading for the tutorial! Note: these are not sock gnomes, but you can use socks instead for the body and hat.
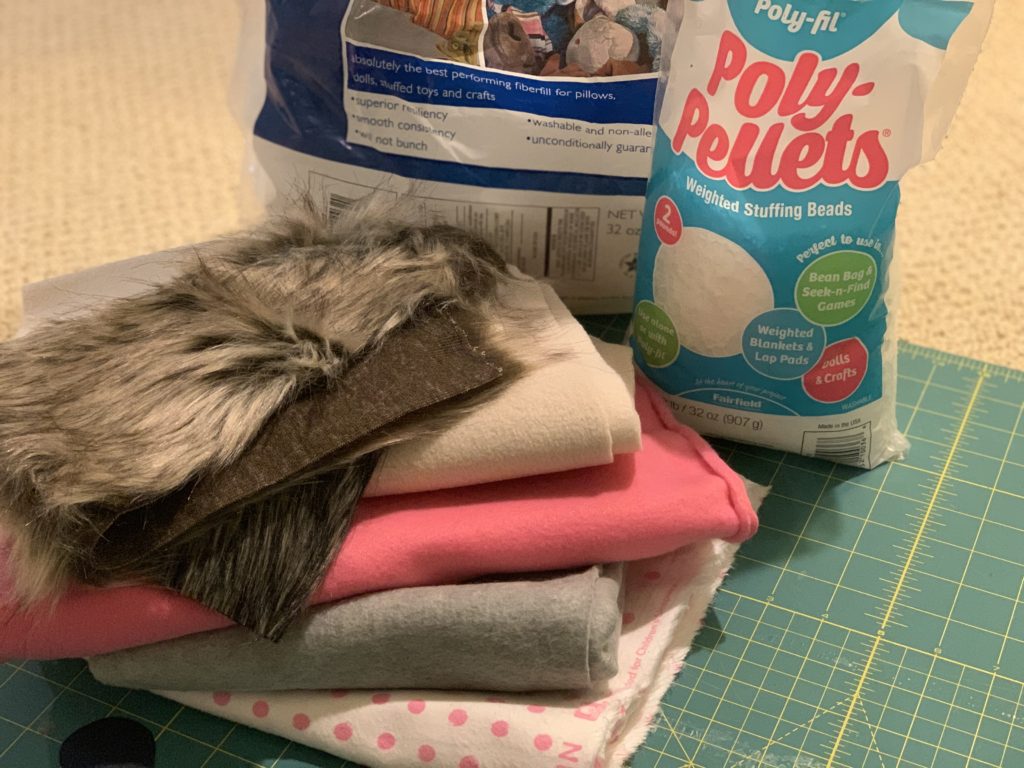
Materials:
Fleece, flannel, or felt (I picked grey for the body, pink polka dot for the hat, pink for the shoes, and beige for the nose and hands).
Faux fur for the beard
Pellets and fiberfill
Embellishments
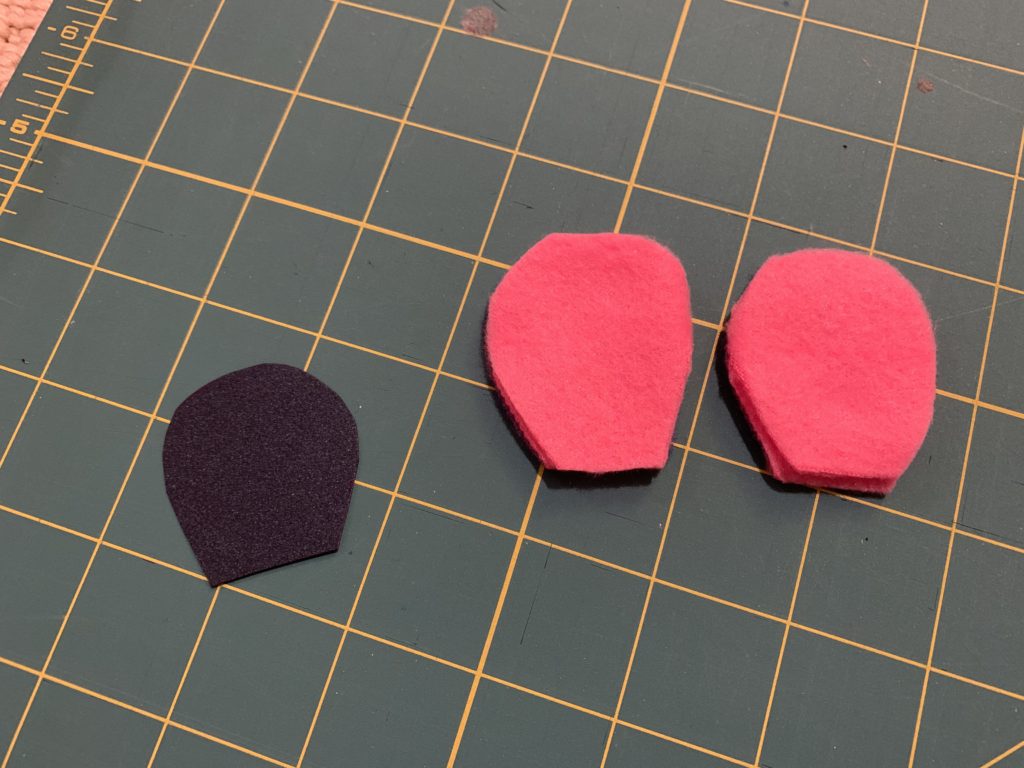
BODY: Cut a circle out of the grey fabric (about 3 inches in diameter). I used a ribbon spool as a template. Then cut a 10″ x 5″ rectangle out of the same fabric. Make a template for the shoes – I made mine about 1.5″ tall and 1.5″ wide at the widest point. Cut 4 out of the pink fleece (2 per shoe).
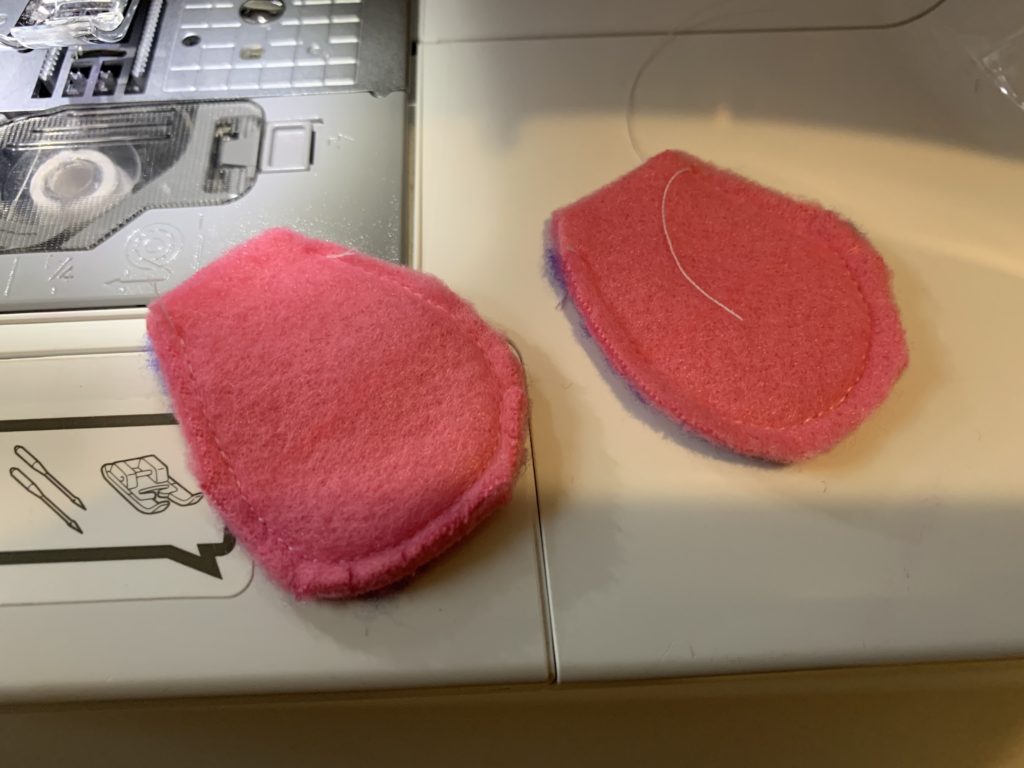
Sew the shoes leaving the straight edge open for turning, cut slits along the curves and turn. Fill lightly with fiberfill.
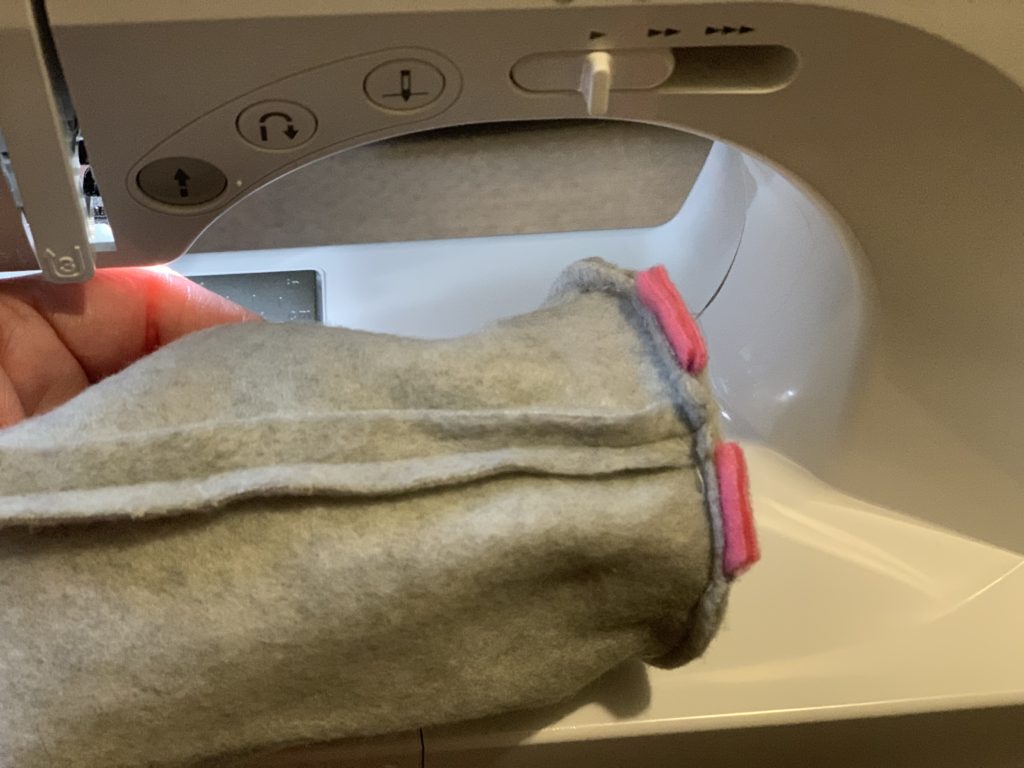
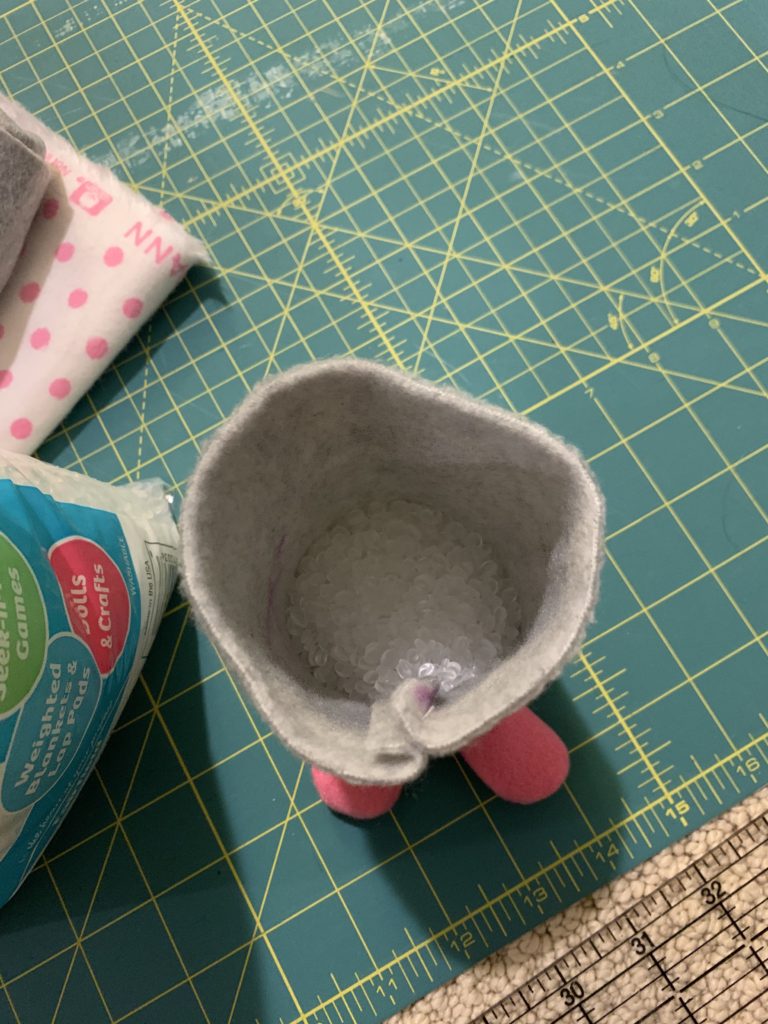
Sew the bottom and body together (like a cylinder) making sure the shoes are inside. Turn and fill with pellets – about 1/3 of the way up. Fill the rest with fiberfill.
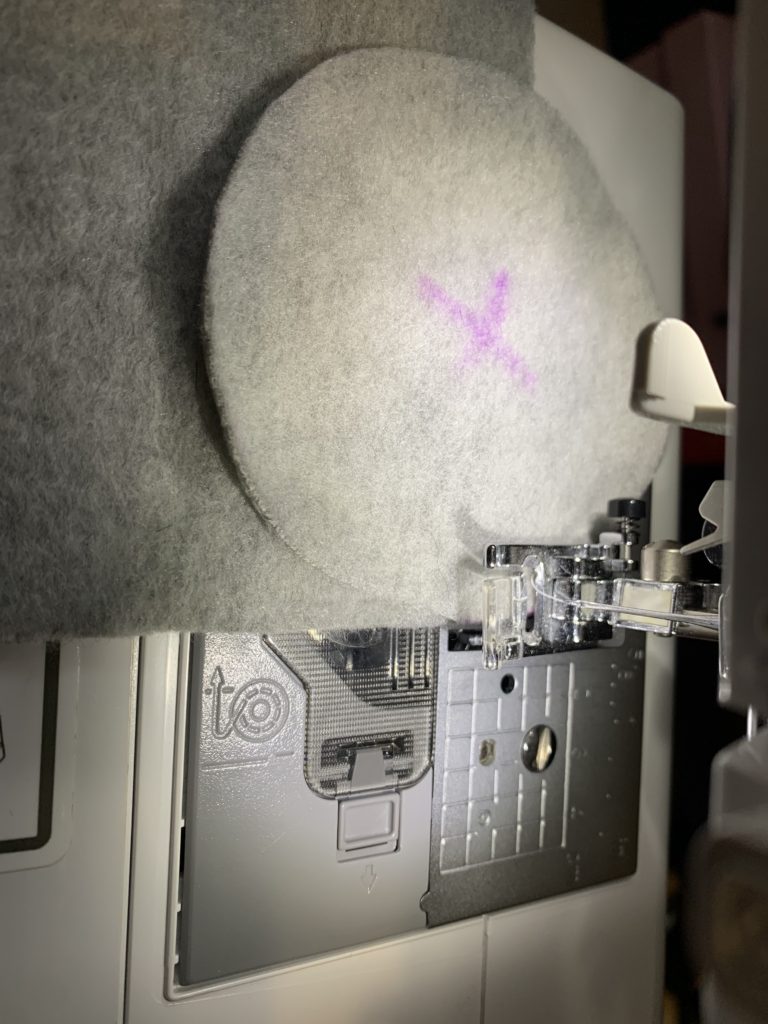
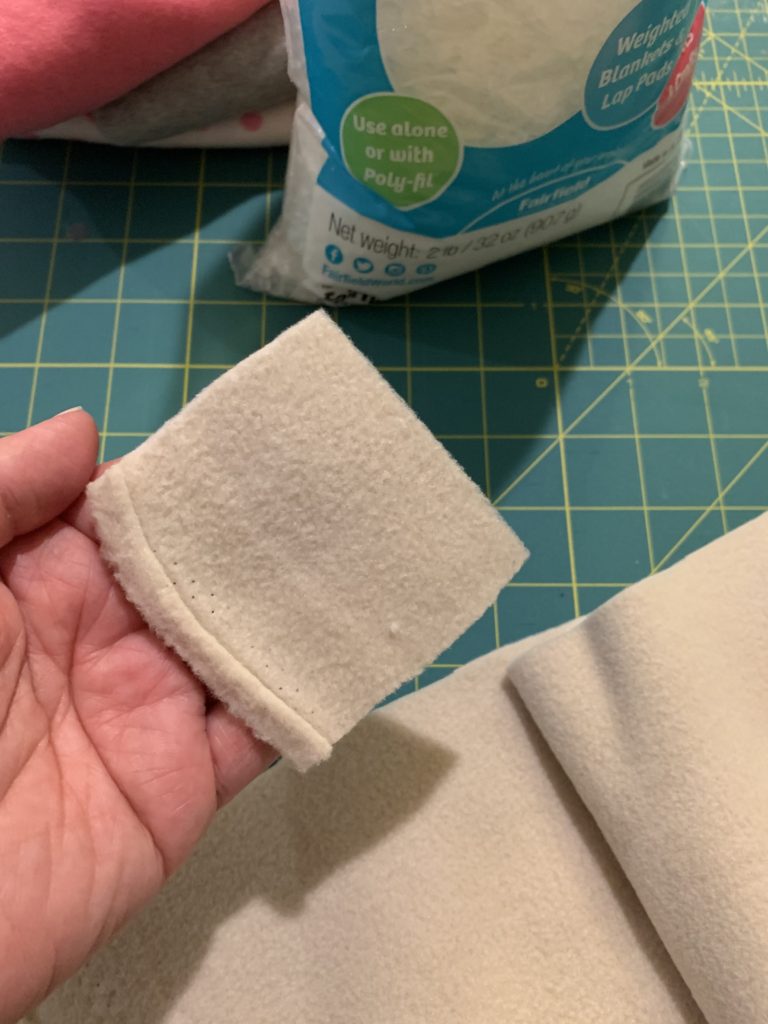
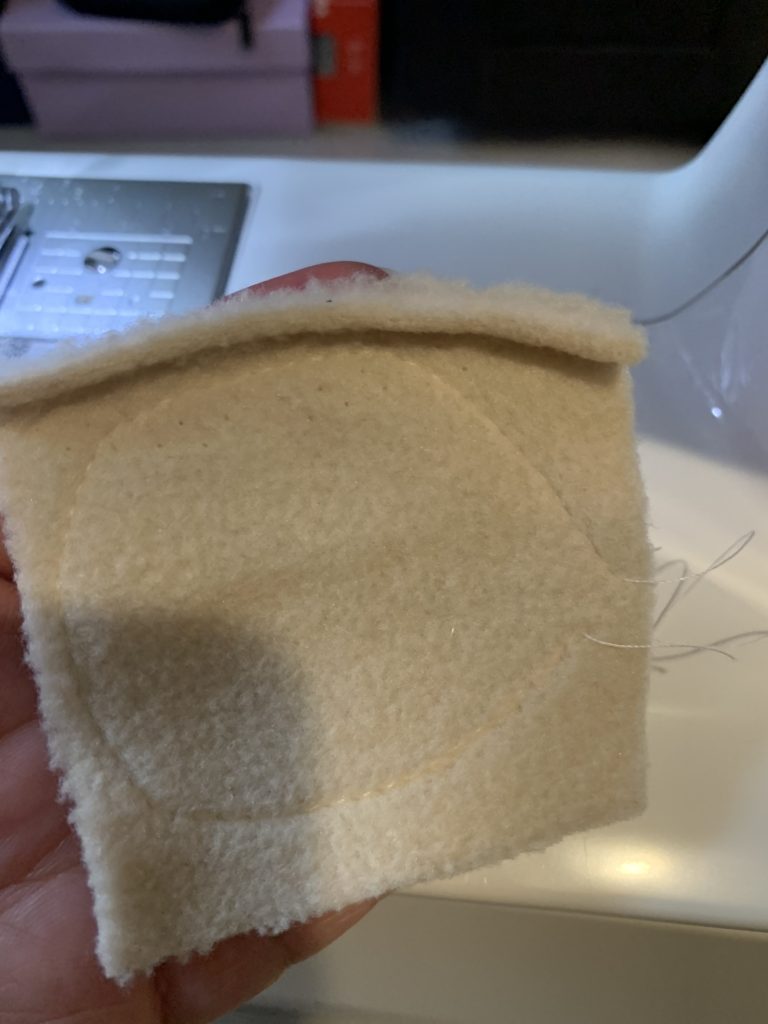
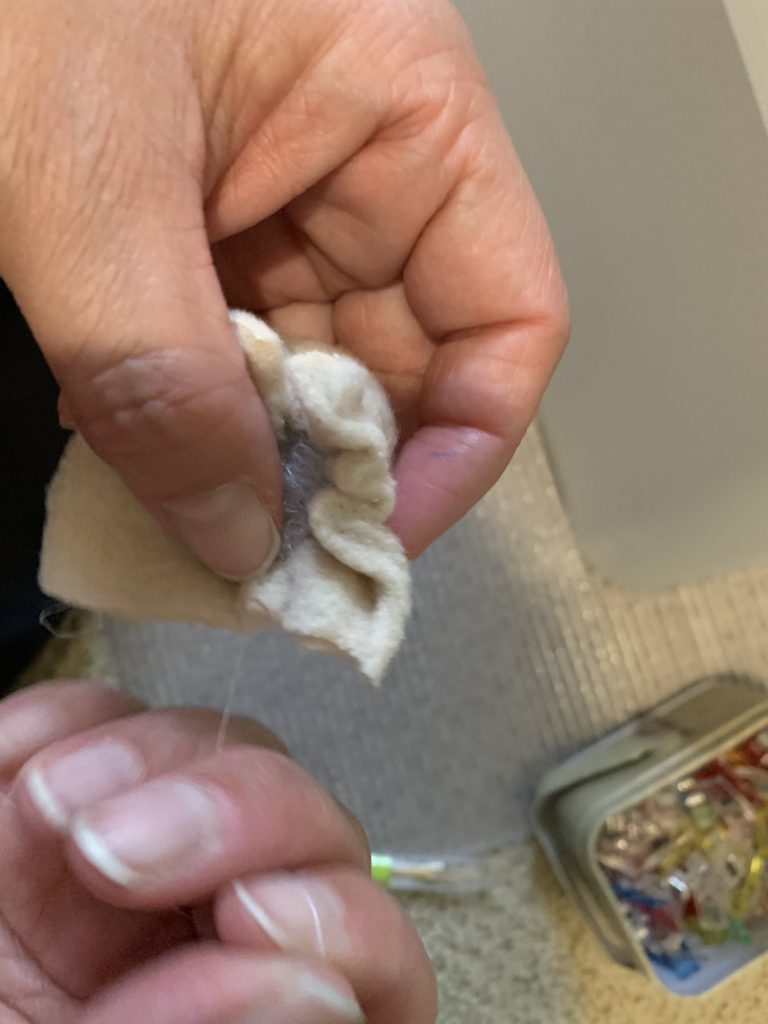
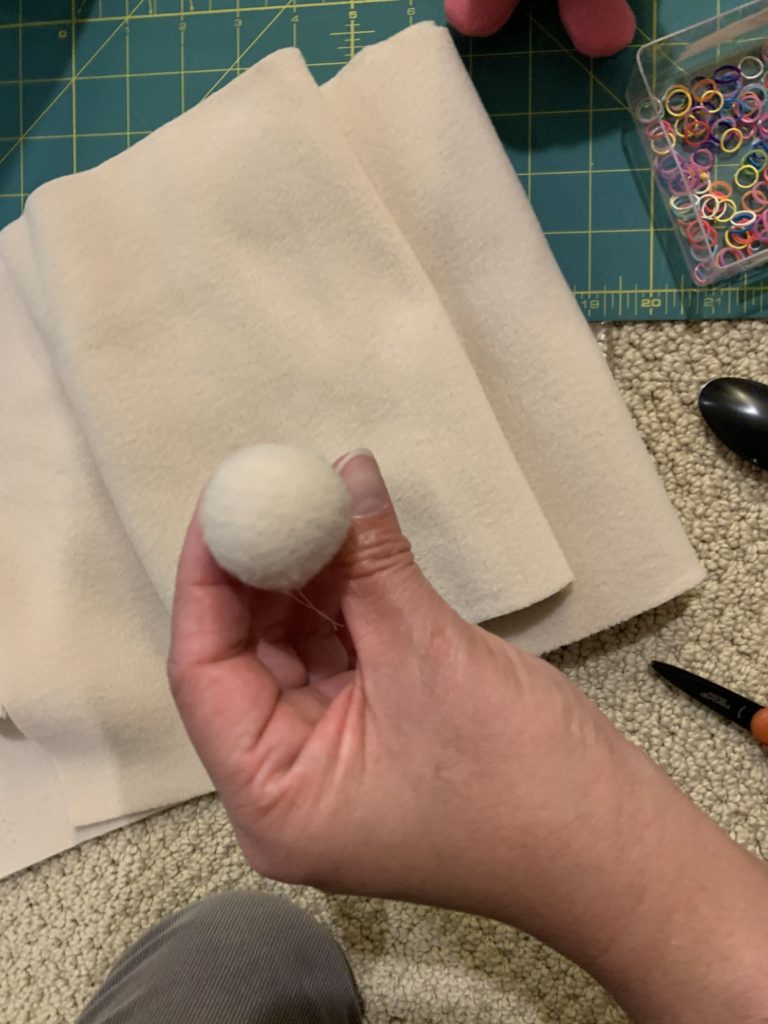
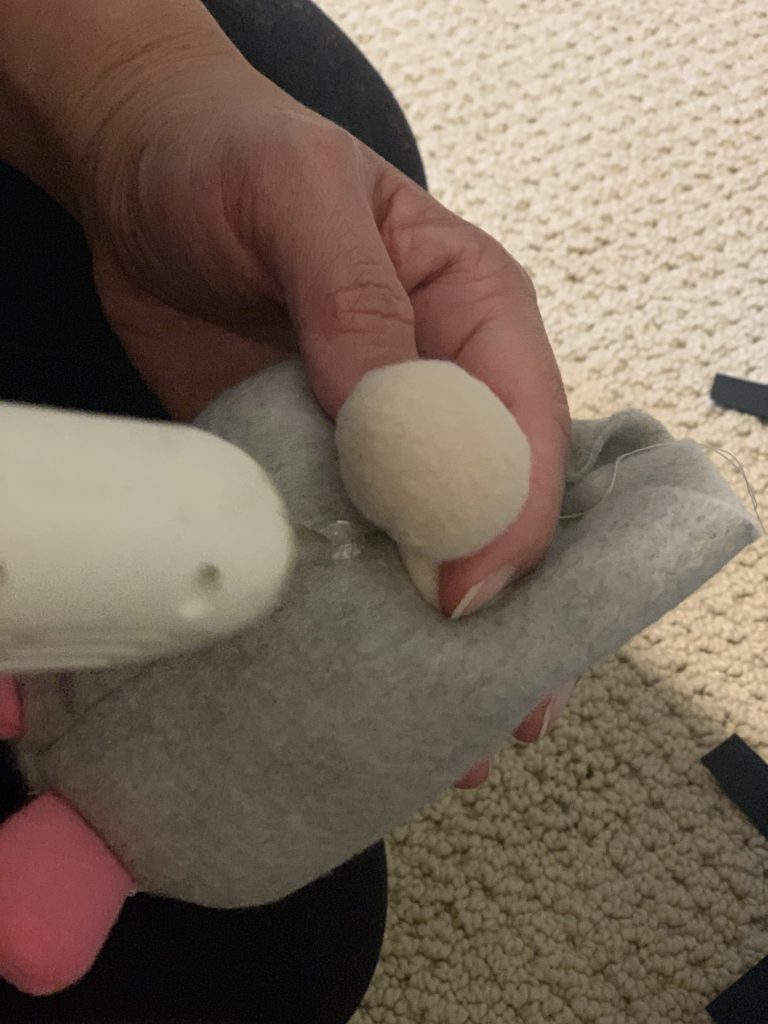
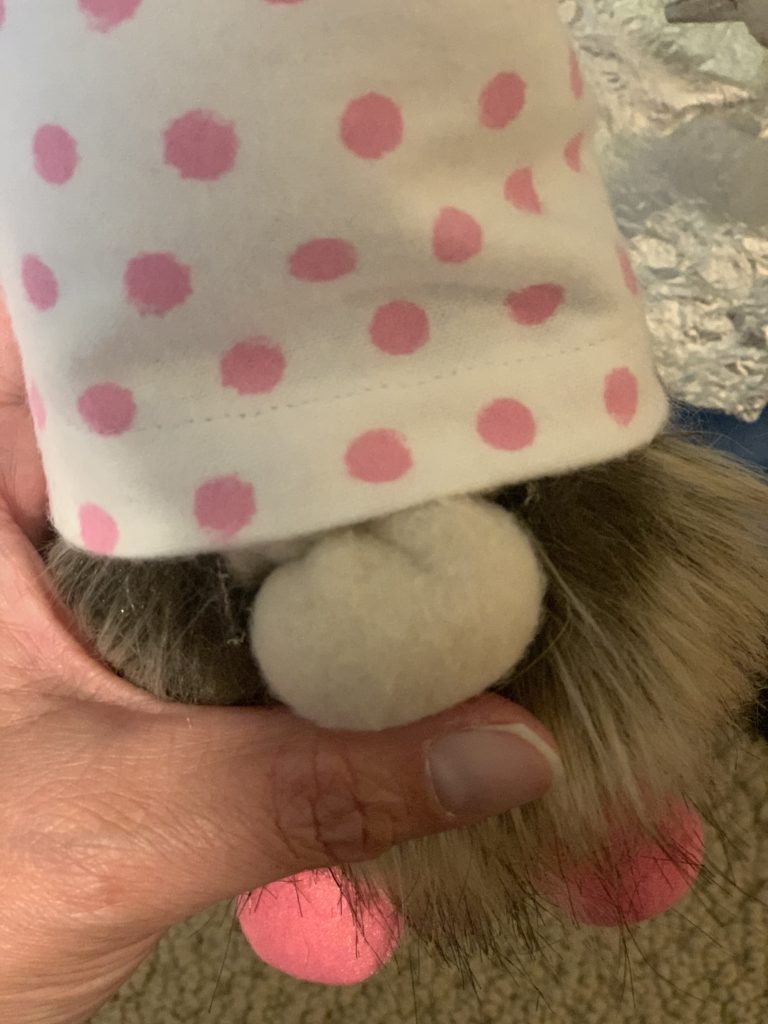
NOSE: out of the beige fabric, cut out a square (mine was about 2.5″ x 2.5″). Adjust your sewing machine to sew the longest stiches and sew a circle – don’t backstitch. Place some fiberfill in the middle and pull on the thread so that it creates ruffles around it. Hot glue (or stitch) the nose in place.
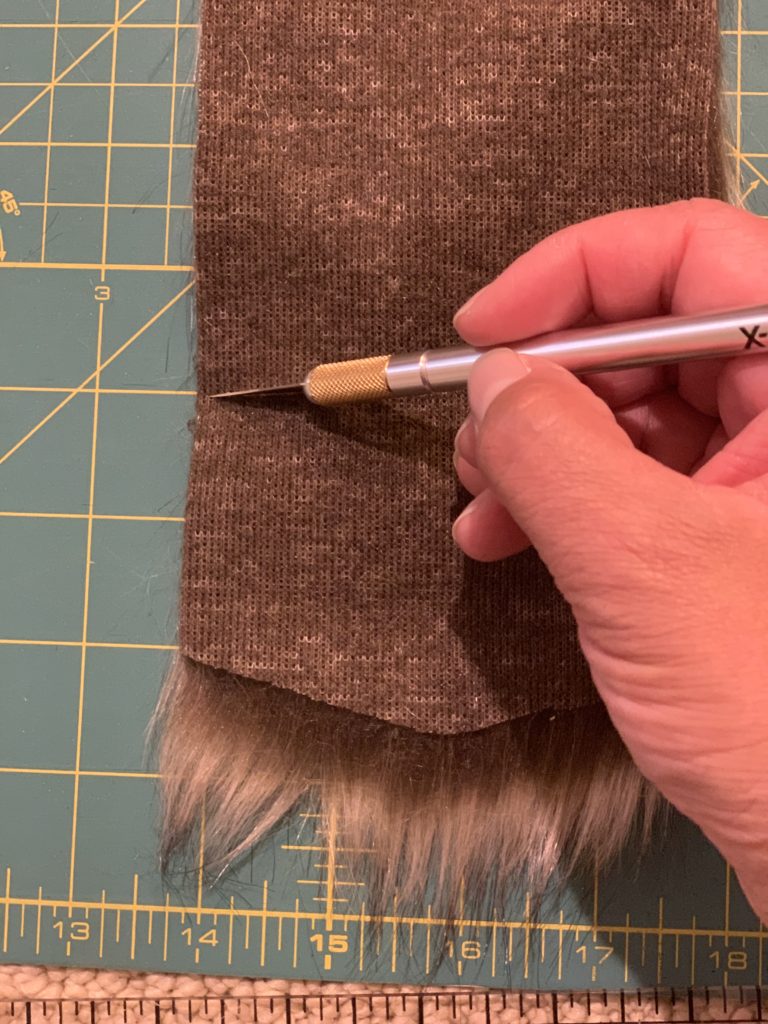
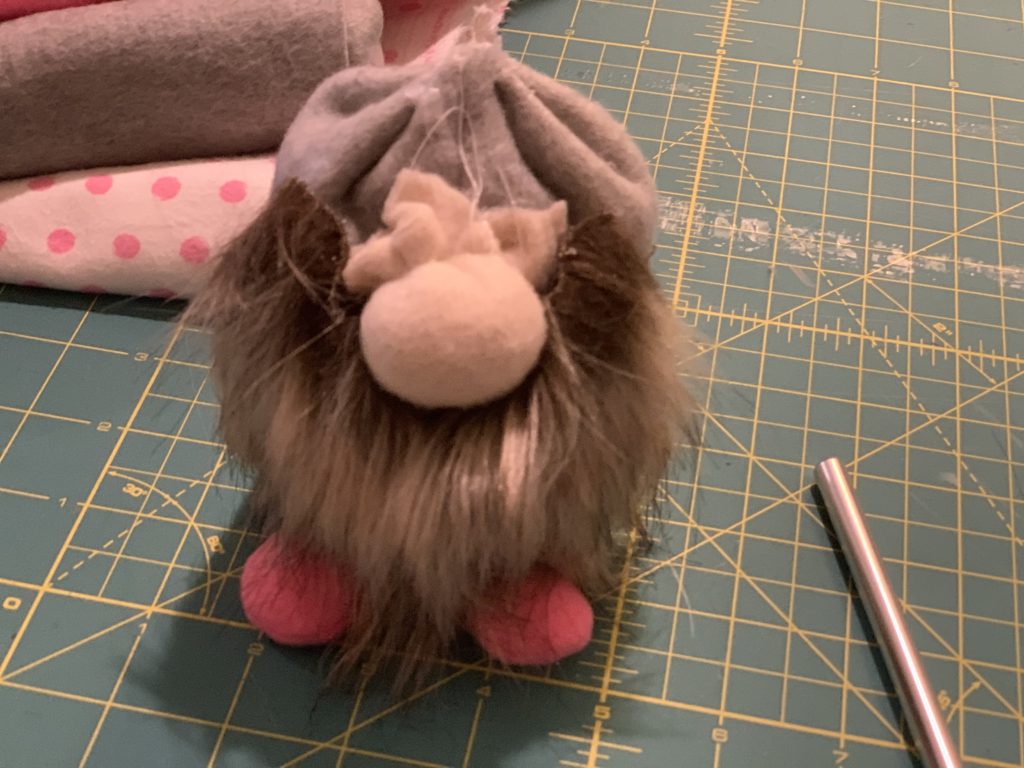
BEARD: Cut the length of beard you want for your gnome – the size will vary depending on how tall he is so far. My beard was about 2″ (4″ if you measure from the bottom of the faux fur). Fold it in half to find the middle and cut a slit to fit around the nose. Hot glue in place. At this point I also hot glued the top of the body shut.
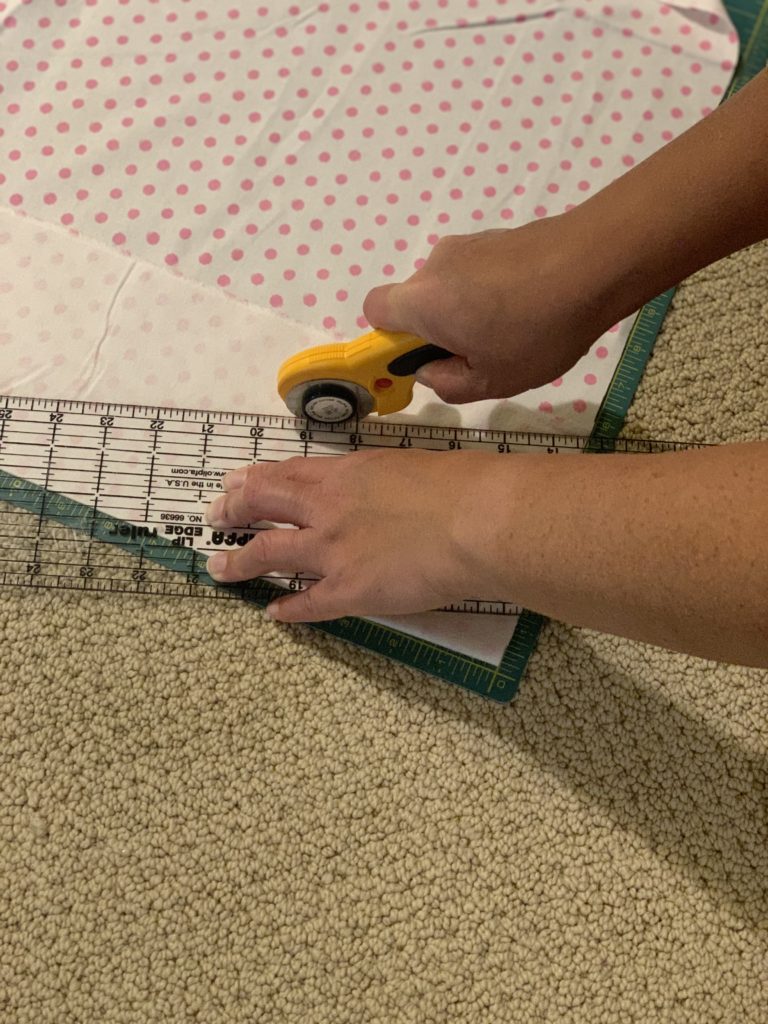
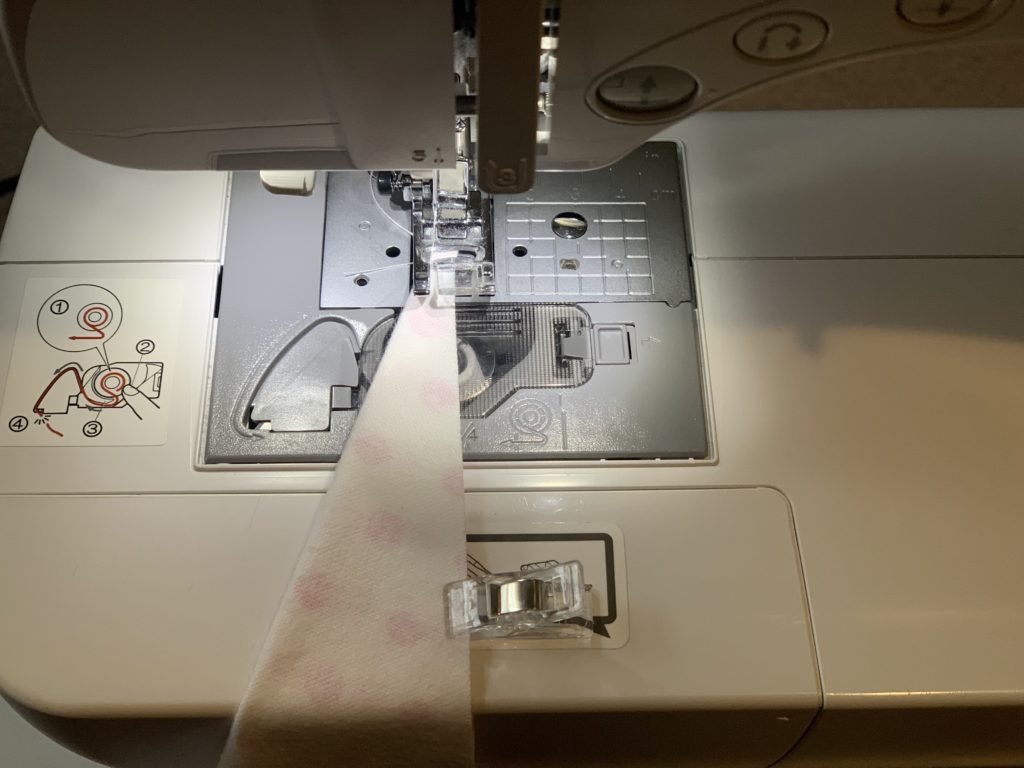
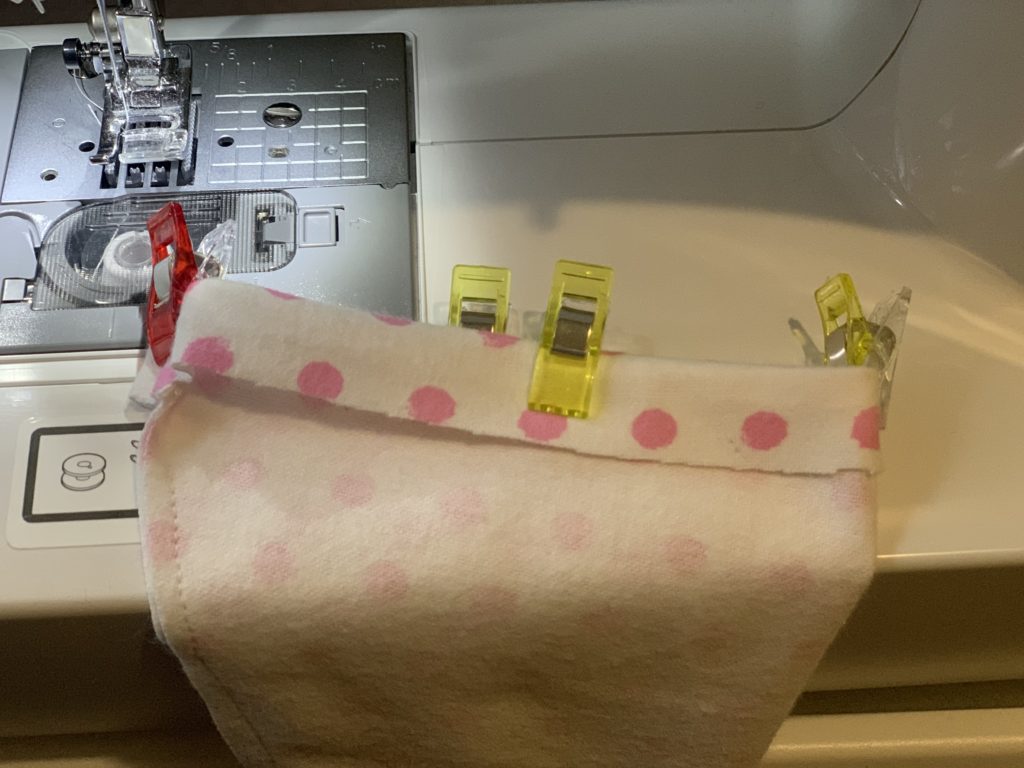
HAT: Fold the fabric for the hat right sides together so they overlap about 5.5″. Cut at an angle starting opposite of the fold so you end up with a 15″ x 5.5″ right-angled triangle. Sew along the long side. Add a hem to the bottom of the hat. Place on the gnome and hot glue to the nose and back. Don’t glue the sides yet so we can insert the arms.
ARMS: Cut 2 rectangles (I used the same fabric as the hat) and sew wrong sides together. The seam will be against the body so we don’t need to turn. Place them under the hat and glue in place. Roll a little piece of the beige fabric and glue them inside of the arm (for his hands). I forgot to take a picture of this step but it’s straightforward. Glue the sides of the hat onto the body and then embellish to your heart’s content!
I hope you found inspiration in this post. If you decide to make your own, please share your pictures!

