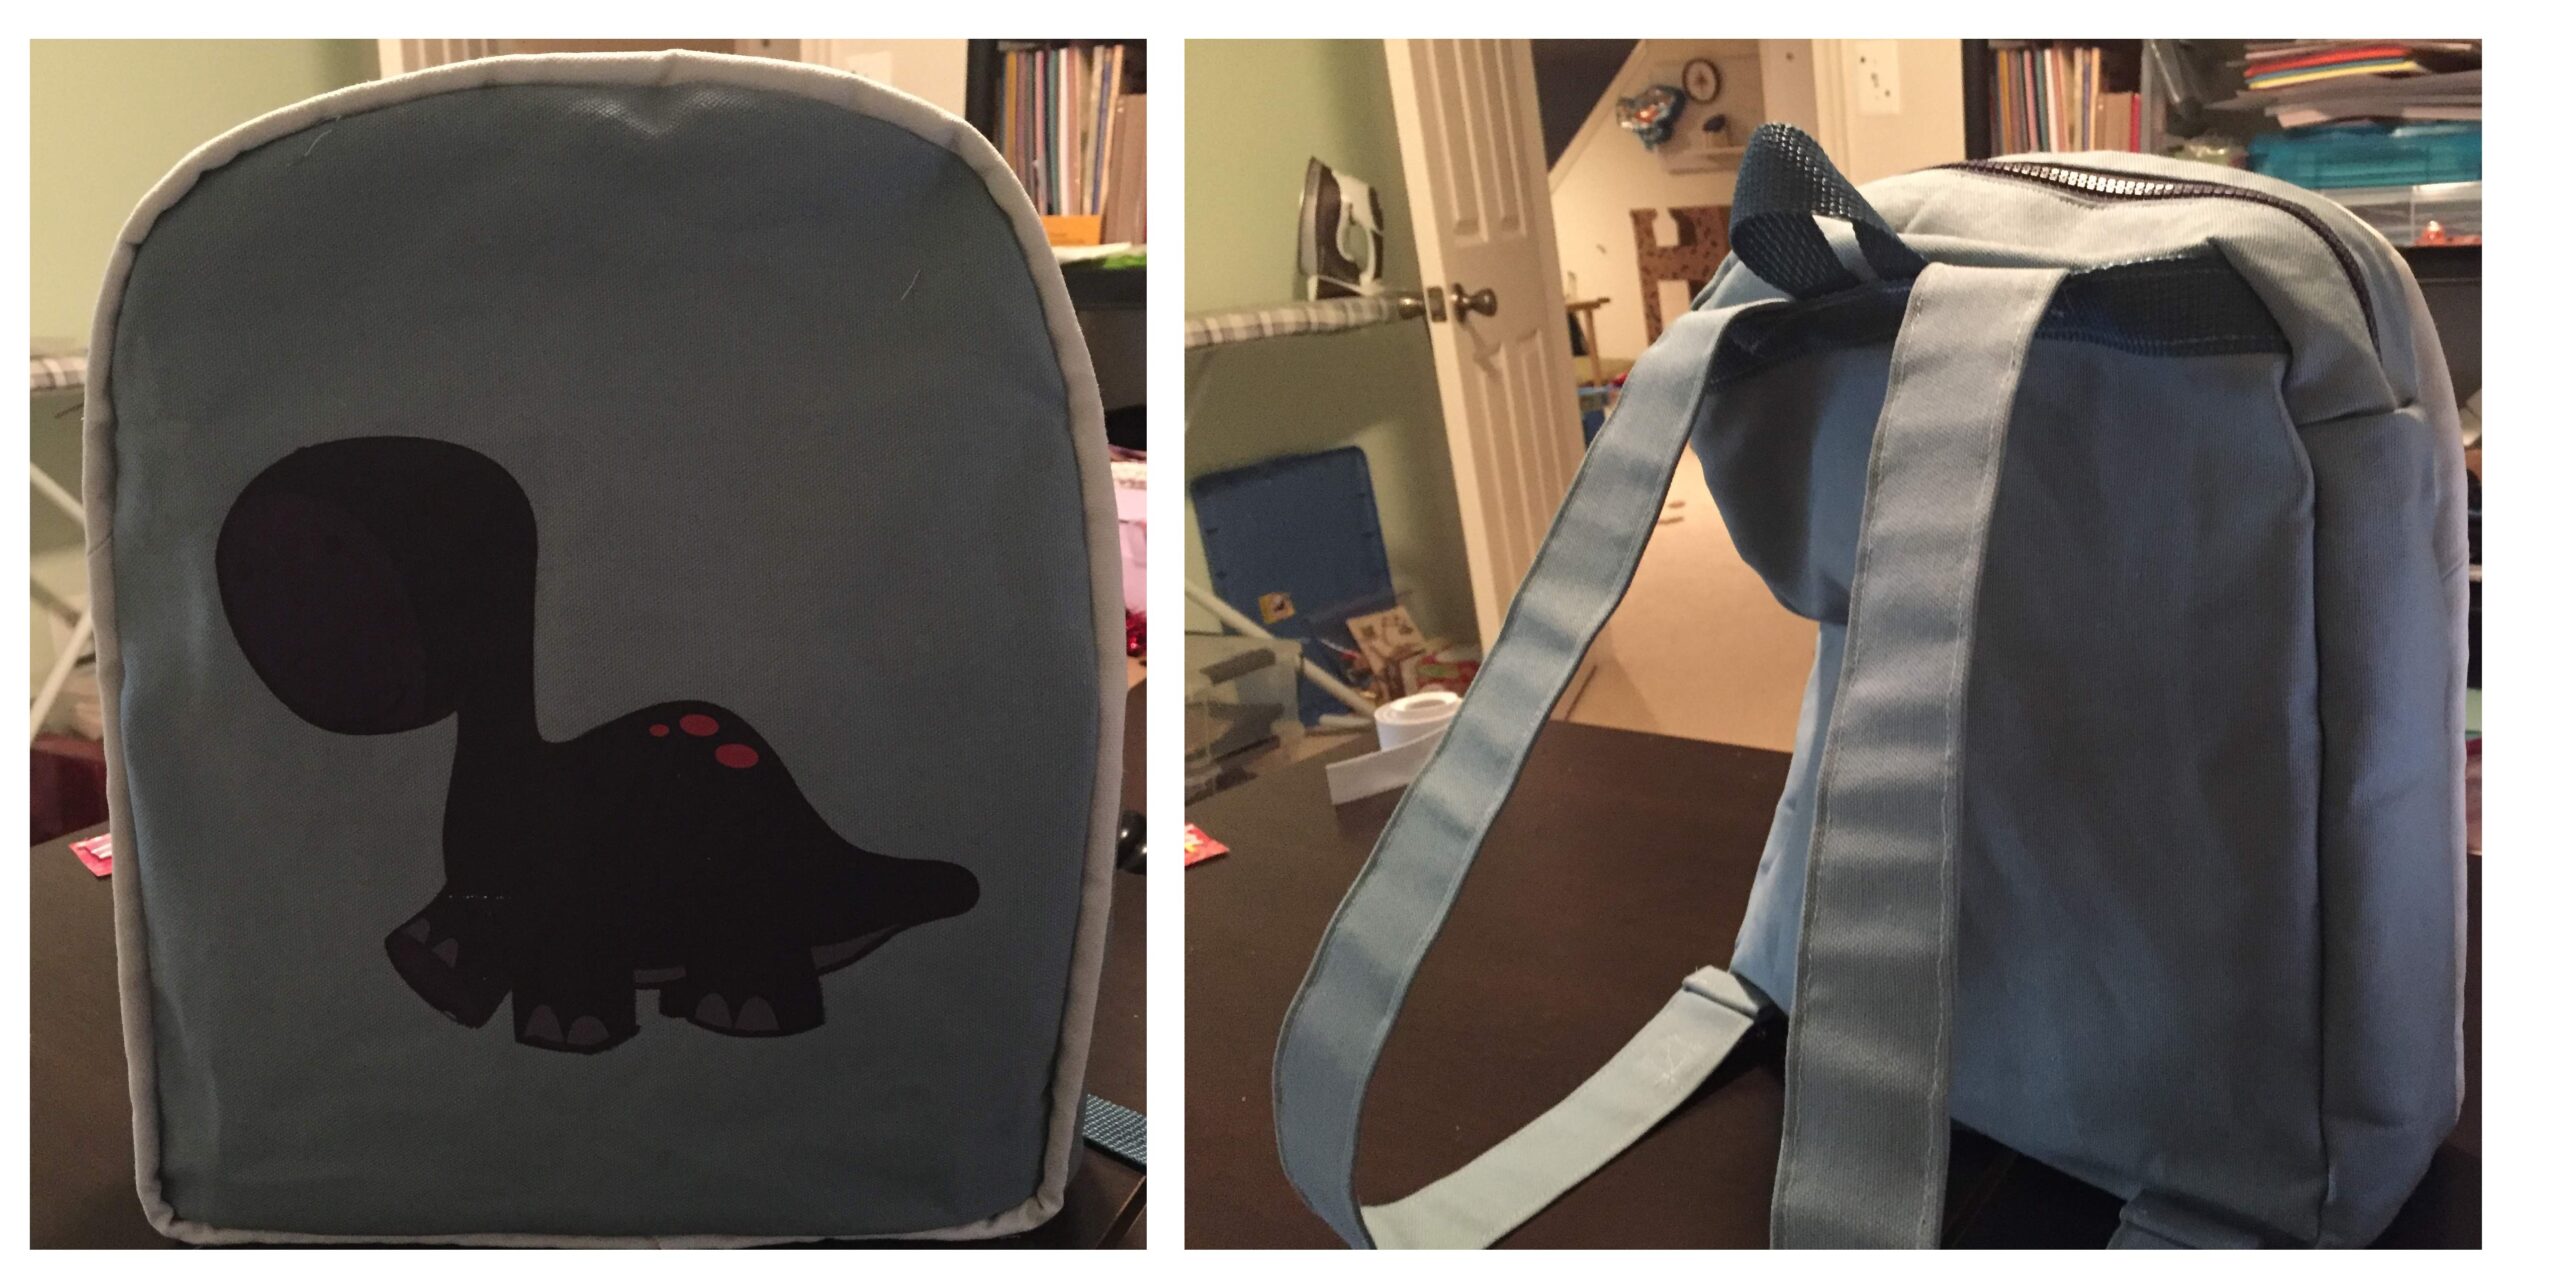
I was working on a beanie and ran out of yarn so I took the boys with me to the craft store. As I was searching for the right color, the boys found a sewing book with the picture of a cute backpack on the front. They looked up at me and asked if I would make them a backpack. I looked at the price of the book and decided that I couldn’t spend that much for basically 1 pattern (the book was all about backpacks). Could I pull off a backpack without buying the book? We’ll see! Reluctantly, I agreed and here we are. If I published this post, the backpack turned out well enough haha!
Main Body
Materials:
- 1/2 a yard of main fabric (I am using canvas)
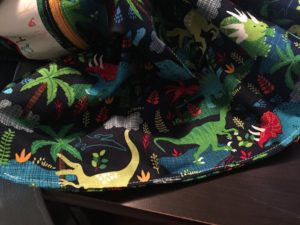
- 1/2 a yard of lining fabric (I am using a 100% cotton dinosaur print because it’s the print he wanted)
- Freezer paper – to cut your pattern pieces
Measure the length and width that you’d like the backpack to be (make sure to consider seam allowances) and cut your freezer paper. I made mine 12″w x 14.5″h. Fold the paper in half lengthwise to cut evenly on both sides.
Round the bottom corner a little, and start tapering the top and rounding about half way up the length and cut.
Next, cut the pattern in half so we have 2 identical pieces (we’ll use one for the main fabric, and the other for the lining fabric).
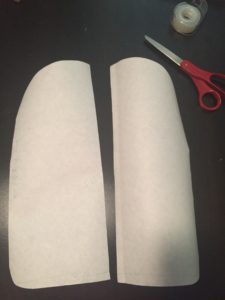
Fold your main fabric and iron one piece of the freezer paper (shiny side down) onto it and cut.
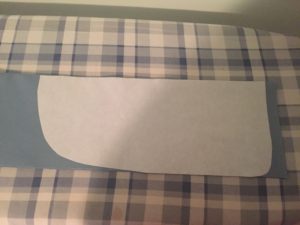
Peel the freezer paper off and you have a perfect piece!
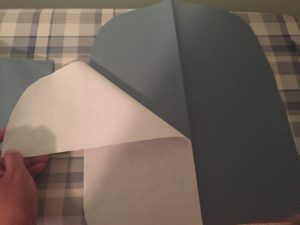
Repeat once more with the main fabric and twice with the lining fabric. I reused the freezer paper but it didn’t hold as well the second time. You can cut 2 patterns out of freezer paper instead (before cutting the pattern in half) and use a fresh piece of paper for each fabric cut.
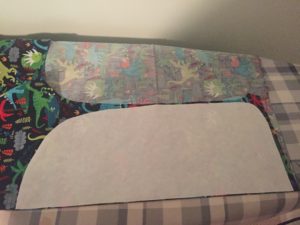
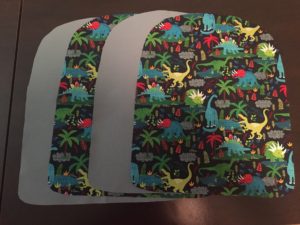
It’s starting to take shape!
Optional: Inside Pocket
Material:
- Fabric for the pockets
- Zipper
I made 2 pockets – one with a zipper, one without. First, I’ll show you the one without a zipper. Measure a little more than 2 inches down from the top of the lining fabric and draw a line with either chalk or disappearing ink.
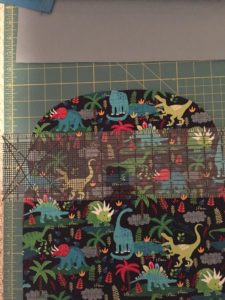
Cut your pocket fabric (any desired width x 2 times the desired height). On the wrong side of the fabric, mark a line about 1.5 inches below the top – we’ll call this the main line.
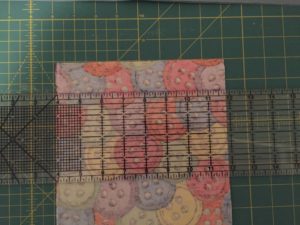
Make 2 more lines – one above and one below the line we just drew (each about an eight of an inch away). Next, mark 2 perpendicular lines about an inch away from the edge.
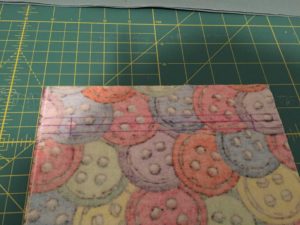
Line up the main line of the pocket with the line we drew on the lining (right side of the lining, wrong side of the pocket fabric). Pin in place and sew along the bounding rectangle.
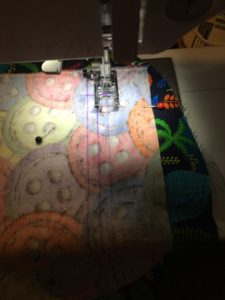
Make diagonal lines from the bounding box to the main line.
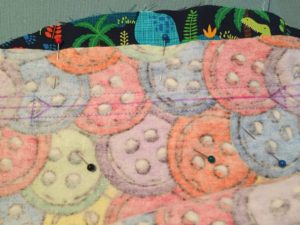
Cut along the main and diagonal lines – be careful not to cut any stitches.
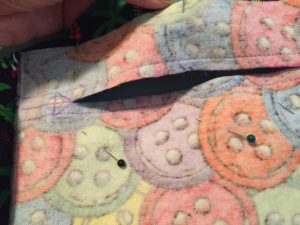
Pull the pocket fabric thru the cut you just made and iron.
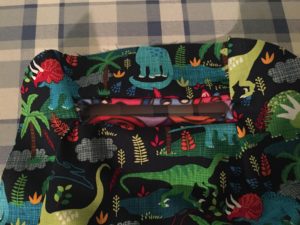
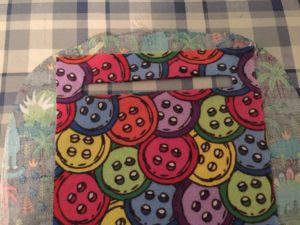
Sew along the edges.
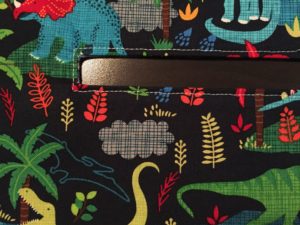
Fold the pocket fabric in half and sew along the edges.
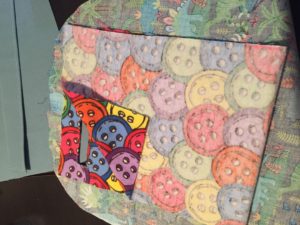
Be careful not to sew the lining to the pocket.
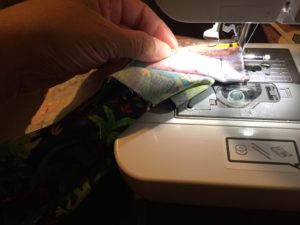
Pocket!
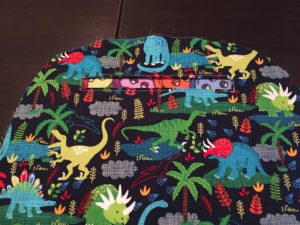
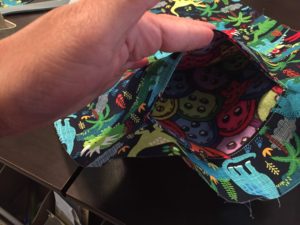
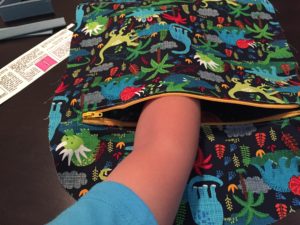
For the zipper pocket, follow the same steps except: make your bounding rectangle a little larger (give yourself 1/4 of an inch above and below the main line). Stop before top stitching (after ironing the pocket open).
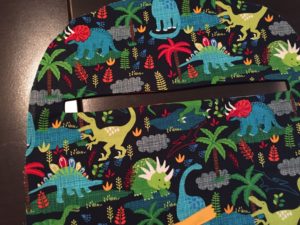
Pin the zipper in place and then top stitch.
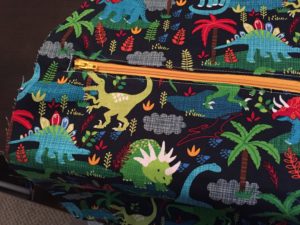
Sew along the pocket edges – again avoid sewing the lining to the pocket.
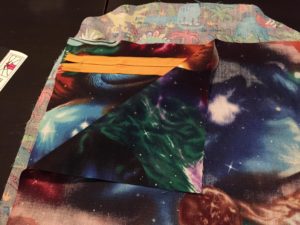
Zipper pocket! Little guy was excited and had to put his hand in it haha!
Main Zipper & Side Panel:
Materials:
- A 14-inch zipper (I picked one with wider teeth since it’s gonna be a 1st grader handling it)
- 15″ x 3″ zipper panels – 2 from the main fabric, 2 from the lining fabric
- 4.5″ x 40″ side panel of the main and lining fabric (the length is just an approximation – the final length will be determined by the size of your backpack body. I’ll show you how I figured out the length for mine.
My zipper ended up being a little on the smaller side, next time I’d use a longer zipper.
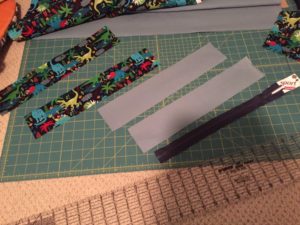
Pin the zipper to the main fabric panel (right sides together).
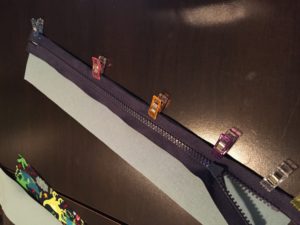
Add the lining fabric (right side down on top of the zipper) and sew.
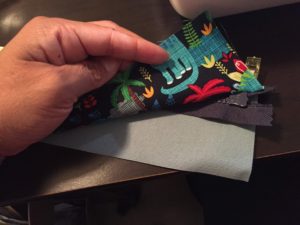
Open both fabrics so wrong sides are together and iron it – beware tho, if you didn’t buy a metal zipper, don’t melt your zipper!
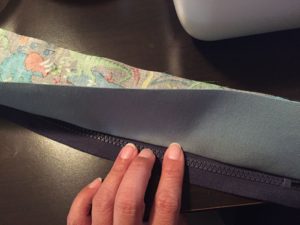
Top stitch and repeat on the other side of the zipper.
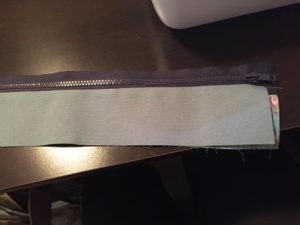
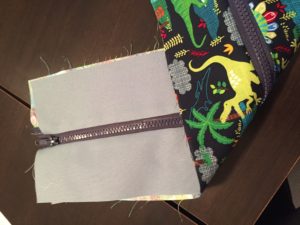
When I was evening out the width of the zipper (I wanted the width to be 4.5 inches), I wasn’t paying attention and ended up cutting into the fabric =(
I thought about using my seam ripper and redoing that side but then I decided to just have 1 side narrower than the other. Most backpacks have a deep and narrow side, right?
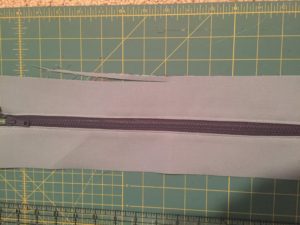
Because of the zipper mishap, I ended up needing to cut my side panel a quarter of an inch thinner.
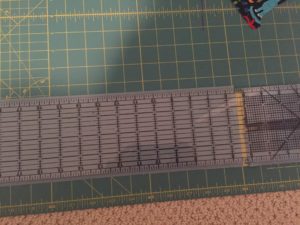
To figure out the length of my side panel, I pinned it all around the body of the backpack. In my case, I ended up needing more length! I needed about 3 more inches. Taking into account seam allowances, I cut 2 pieces to sew on either side of the zipper for an even look.
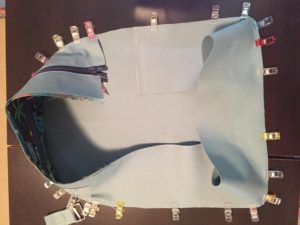
Putting right sides together, sew the main fabric side panel to the zipper panel we just made. Sew from the outside toward the zipper and stop just before the zipper. Then sew from the outside again toward the zipper on the other side and stop right before the zipper.
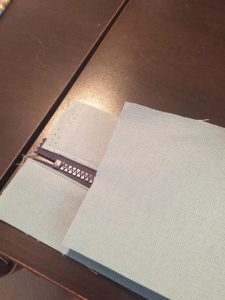
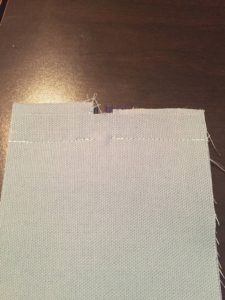
Repeat on the other side also avoiding the zipper. Next, repeat these steps with the lining fabric. You’ll end up with an oval.
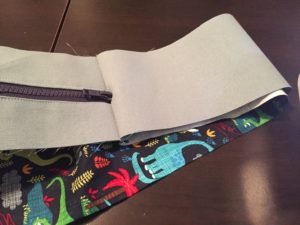
Optional: Cording
I’ve been wanting to try cording and this is the perfect excuse. It will add some nice detail to the front of the backpack.
Materials:
- Cording
- Exterior fabric – you can use the same main fabric or something different. I had some left over white canvas so I decided to use white. The length is the perimeter of your pack, the width should be the width of your (cord + seam allowance) x 2. In my case, my cord is 1/4 of an inch and a 1/2 inch seam allowance. So I cut my fabric width to 1-1/2 inches.
Depending on the length of cording you need, you may need to sew 2 pieces of fabric together. To do that, put the fabric perpendicular to one another. Draw a diagonal line connecting the 2 corners shown below. Sew along the line and cut the excess fabric.
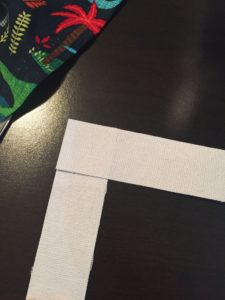
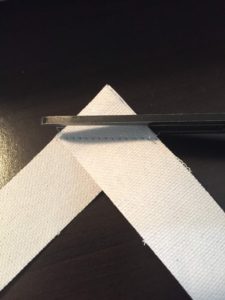
Press the fabric open. Wrap the cording with the fabric and either pin in place or take it straight to the sewing machine (use a zipper foot).
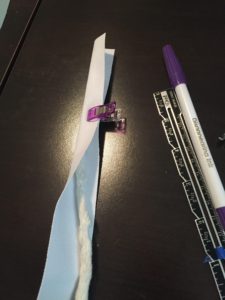
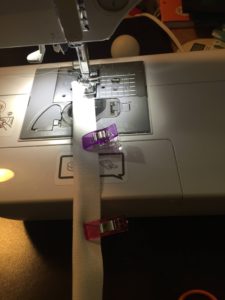
I ended up needing to rip some of the beginning and ending seams open so leave yourself about 2 inches from the top and stop short a couple inches as well.
Place the cording over the main exterior body piece and sew starting about 2 inches below the top.
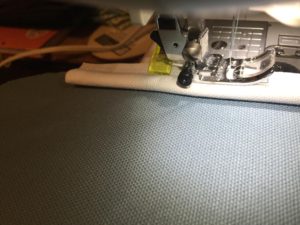
When you get to the rounded corners, cut a few slits into the cording to make it easier to turn. Don’t cut too deep tho! Cut less deep than your seam allowance is.
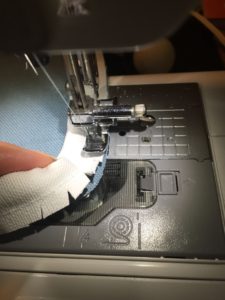
When you get to the end, peel the cord fabric back and lay the cord next to each other. Cut.
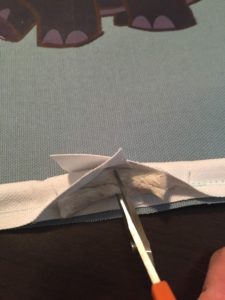
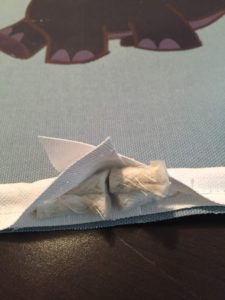
Remove the extra pieces, cut the fabric if needed, fold the top fabric under a little bit and sew.
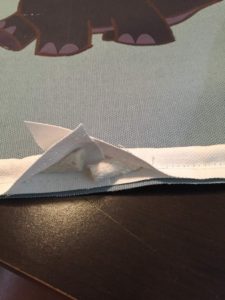
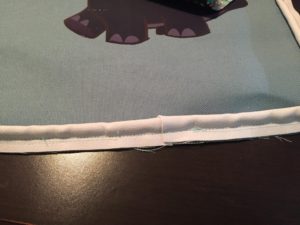
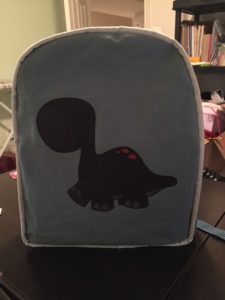
Cording complete! By the way, that dinosaur that magically appeared on the front of the backpack is printable vinyl. Again, little guy’s choice.
Shoulder Straps:
Materials:
- 2 long straps of main fabric 6″ x 20″
- 2 sets of D rings or a set of adjustable slide buckles
- Webbing
Fold the straps of main fabric in half lengthwise and iron. Bring the edges to the crease just made and iron again.
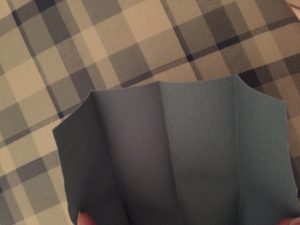
Next, take them to the sewing machine and sew all along the edges.
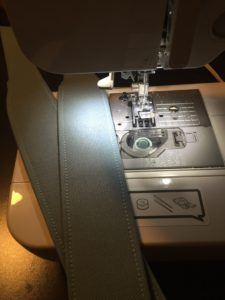
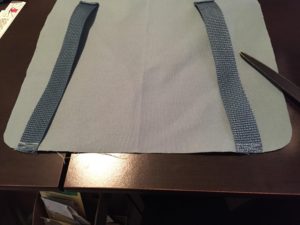
Pin the straps at a little bit of an angle to the top of the back outside piece and sew in place (I sewed only a little bit on the bottom because I didn’t want it visible past the webbing (see next step). But I did reinforce it later when I saw how much space I had available.
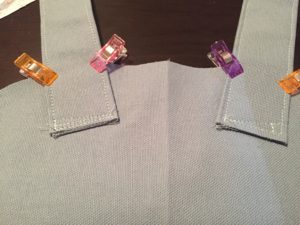
Cut 2 strips of webbing – a smaller one for the loop (carry strap) and a longer one to cover the connecting sewing lines. Pin in place and sew!
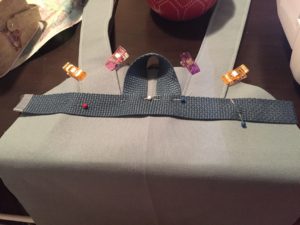
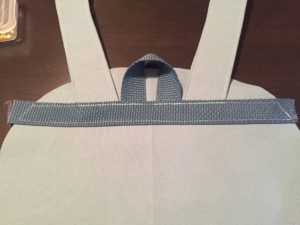
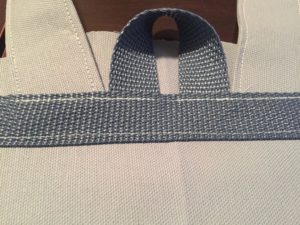
Next, following the same method you used to make the straps, make 2 shorter ones to attach our hardware.
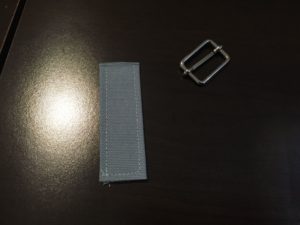
Fold the strap over, about 1/3 of the way and sew in place.
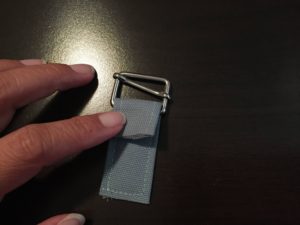
Repeat
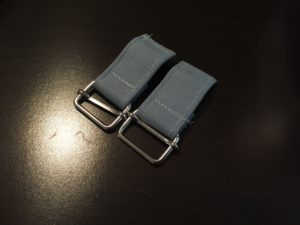
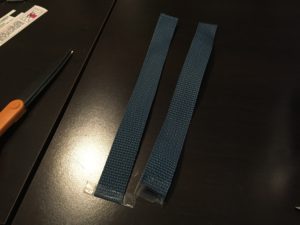
Cut 2 strips of webbing and attach them to the bottom of the outside main fabric. Also attach these at an angle. Sew in place.
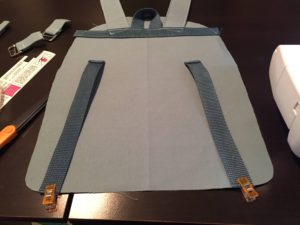
Putting it all together
Mark the top and bottom middle of your front piece. Mark the top and bottom middle of your zipper panel. Line those two up and pin the rest in place. Note: only pin and sew the main fabric. Leave the lining fabric unattached.
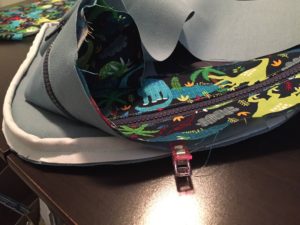
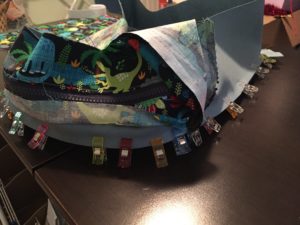
It’s taking shape! Repeat with the back piece of the main fabric. Make sure you keep the straps and such out of the way so you don’t inadvertently sew them in place too!
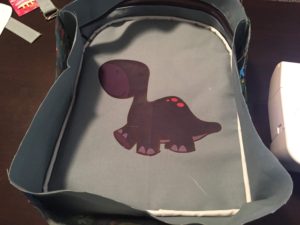
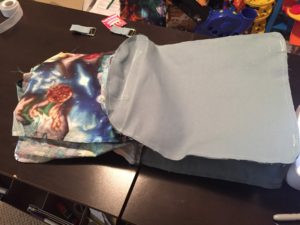
Open up the main zipper and repeat the steps with the lining. Make sure you leave an opening in the lining so you’re able to turn the work around.
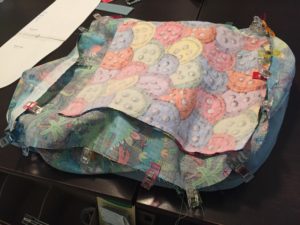
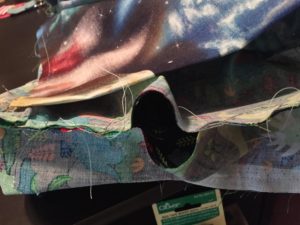
My opening was way too small for canvas fabric. I ended up needing my seam ripper. Reach in thru the opening and the zipper, pull the main fabric out.
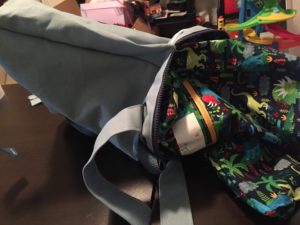
Either sew the opening by hand or top stitch with the machine.
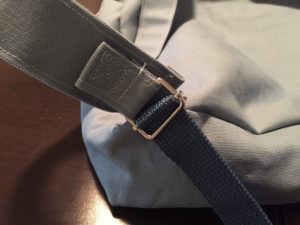
Next, let’s add the hardware to the straps. Fold the top part down to meet the other folded piece. Place on the strap and sew.
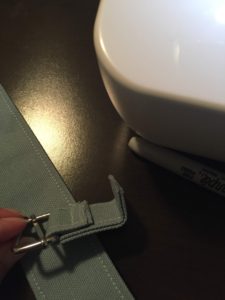
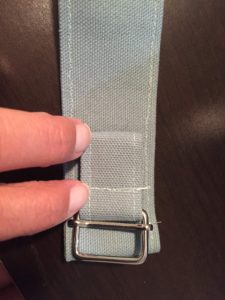
Repeat on the other side.
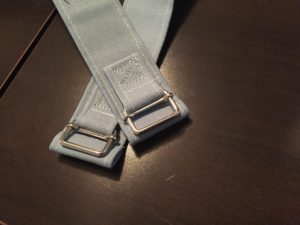
Feed the webbing thru and…
the backpack!
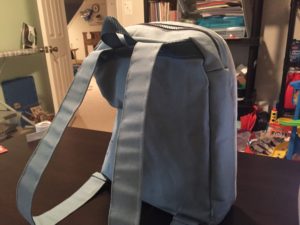

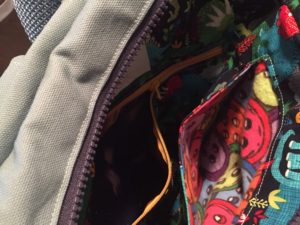
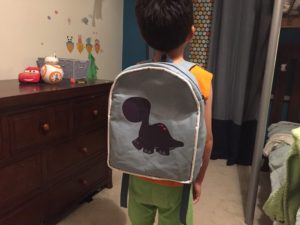
I love how it turned out and my little guy is super excited.I hope you try to make one too. Let me know how it goes!
