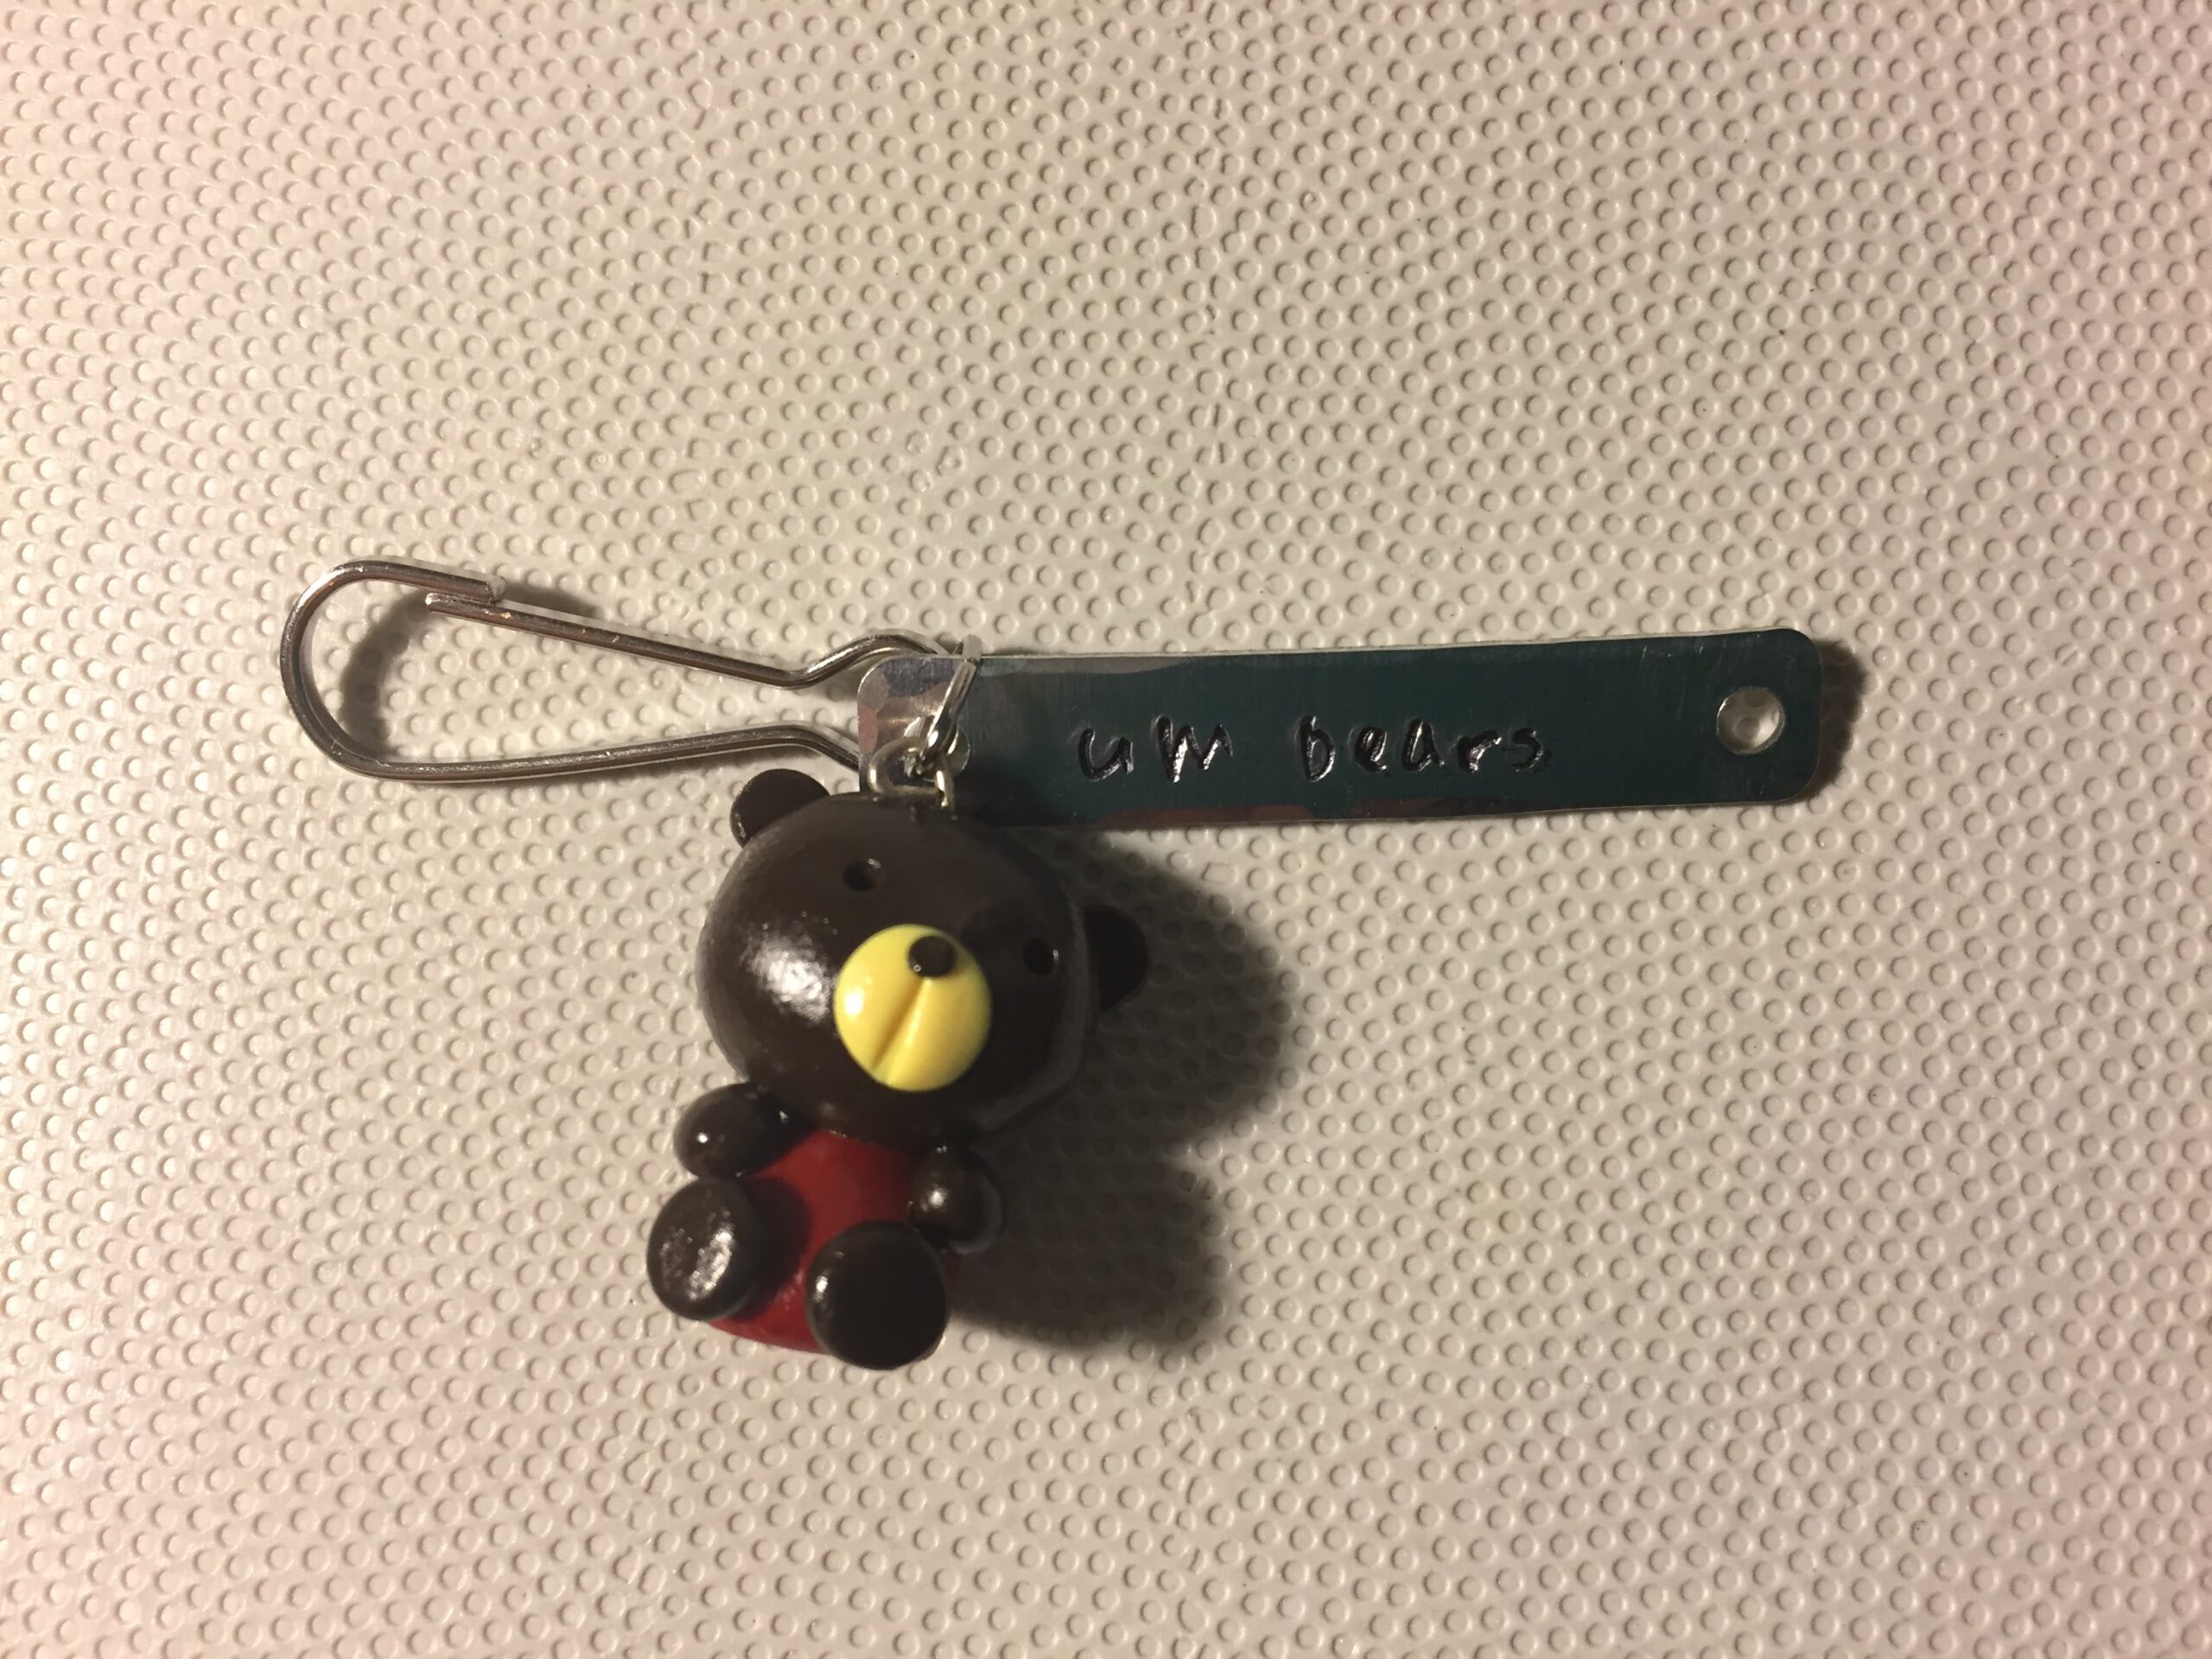
It’s been a busy few weeks getting the polymer clay bears made. But now it’s time for metal stamping!
Materials:
- Metal blanks (I got these from Michaels)
- A hammer (I didn’t get a picture of mine but it’s just a basic hammer from IKEA)
- Another hammer – I believe they’re called texturing hammers. The one I use doesn’t have any texture tho, it’s smooth. I only use it to flatten the blanks if needed. Don’t use it to stamp your letters tho because you can leave permanent impressions on it.
- Jump rings
- Lanyard hooks
- 2 pliers – round nose and curved nose
- bench block
- Alphabet – I am using the Bridgette font
- Post-it notes
- Black sharpie
- Ruler
On to the tutorial – this is a really simple one, great for beginners.
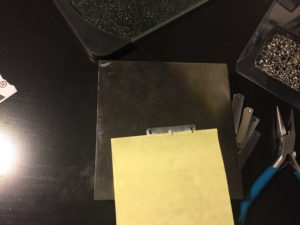
Place your blank on the bench block and lay a post-it on it.
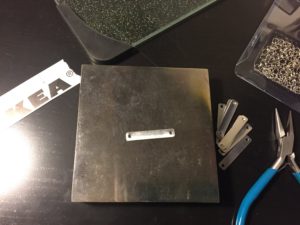
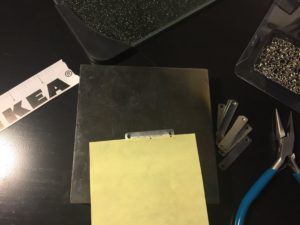
The post-it will keep your blank stuck on the bench so it doesn’t move around while you’re stamping and it will also help you stamp in a straight line. Find the middle of the blank using a ruler and mark it on the post-it. Also find the middle of the word you’re gonna stamp. For example, I am stamping “um bears”, the middle is between the b and the e. However, because the m takes more space than the other letters, I shift the middle to be the b.
Grab the b stamp and place it above the post-it note and lightly tap your hammer on top. Do a test stamp first to gauge how hard to hit with the hammer. When I stamp on copper / silver I have to hit much harder than when I stamped on this one – I actually don’t know what this blank is made of – aluminum perhaps? The first one I stamped was way too deep and the blank ended up being very warped. So test first.
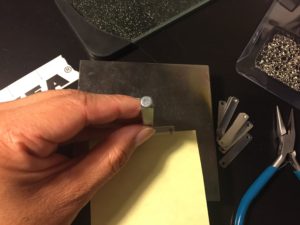
Another thing to note is that some of the letters in the alphabet will not be exactly in the middle of your stamp. For example, in my set, the r is high. So if I stamped the r about the same height I stamped the rest of my letters it would look uneven. Also, the s in my set is much more sharp so when I tap on the s I have to tap way softer than the rest of my letters.
After you finish stamping, your blank may be concave. This is normal. For this project, I just turned it over and hammered it flat using my texturing hammer.
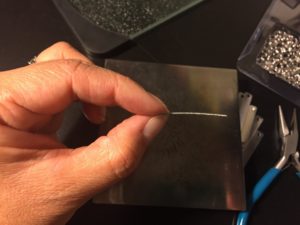
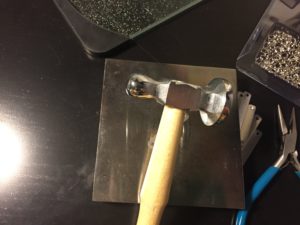
Next, to make the words you just stamped more noticeable, use a sharpie and fill in the indentations. Make sure to get the ink all the way in the words. I let it sit for a few seconds and then rub it off with an old towel. I’ve read that it’s best to use a piece of cloth that’s pretty thin so you don’t scrub off the ink inside the indentations but I’ve had luck with this towel.
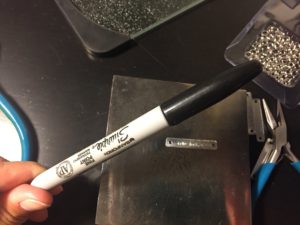
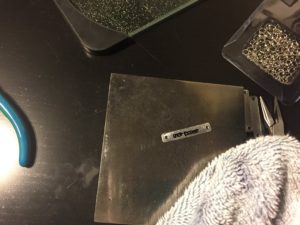
Now it’s just about elbow grease. Keep rubbing it until only the ink inside the indents is left.
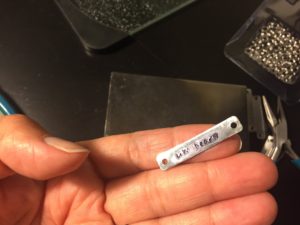
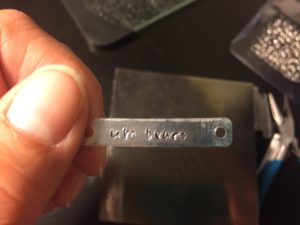
Use your curved nose pliers to grab the jumpring on one end and open it using the round nose pliers.
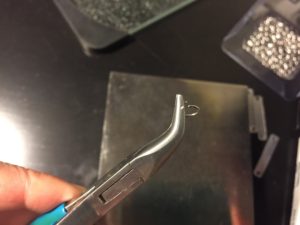
Insert your charms (in my case, one of my polymer clay bears and the metal I just stamped) and then close the jumpring.
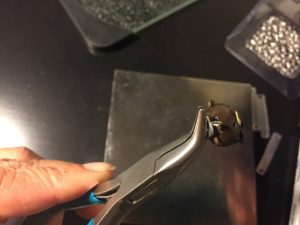
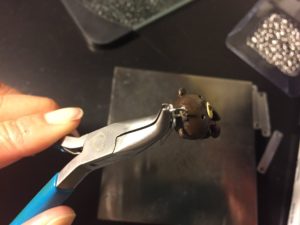
Add the lanyard hook and you’re done!
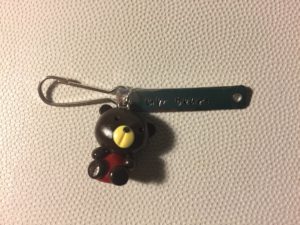
Here are my bears so far… I’m going to print a little tag that says “Handmade” or something like that to include with them.
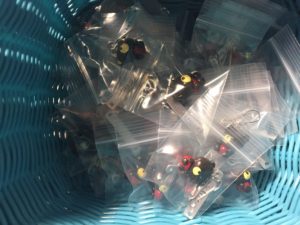
I hope you found this helpful, or are inspired to try out metal stamping. It’s fun!
