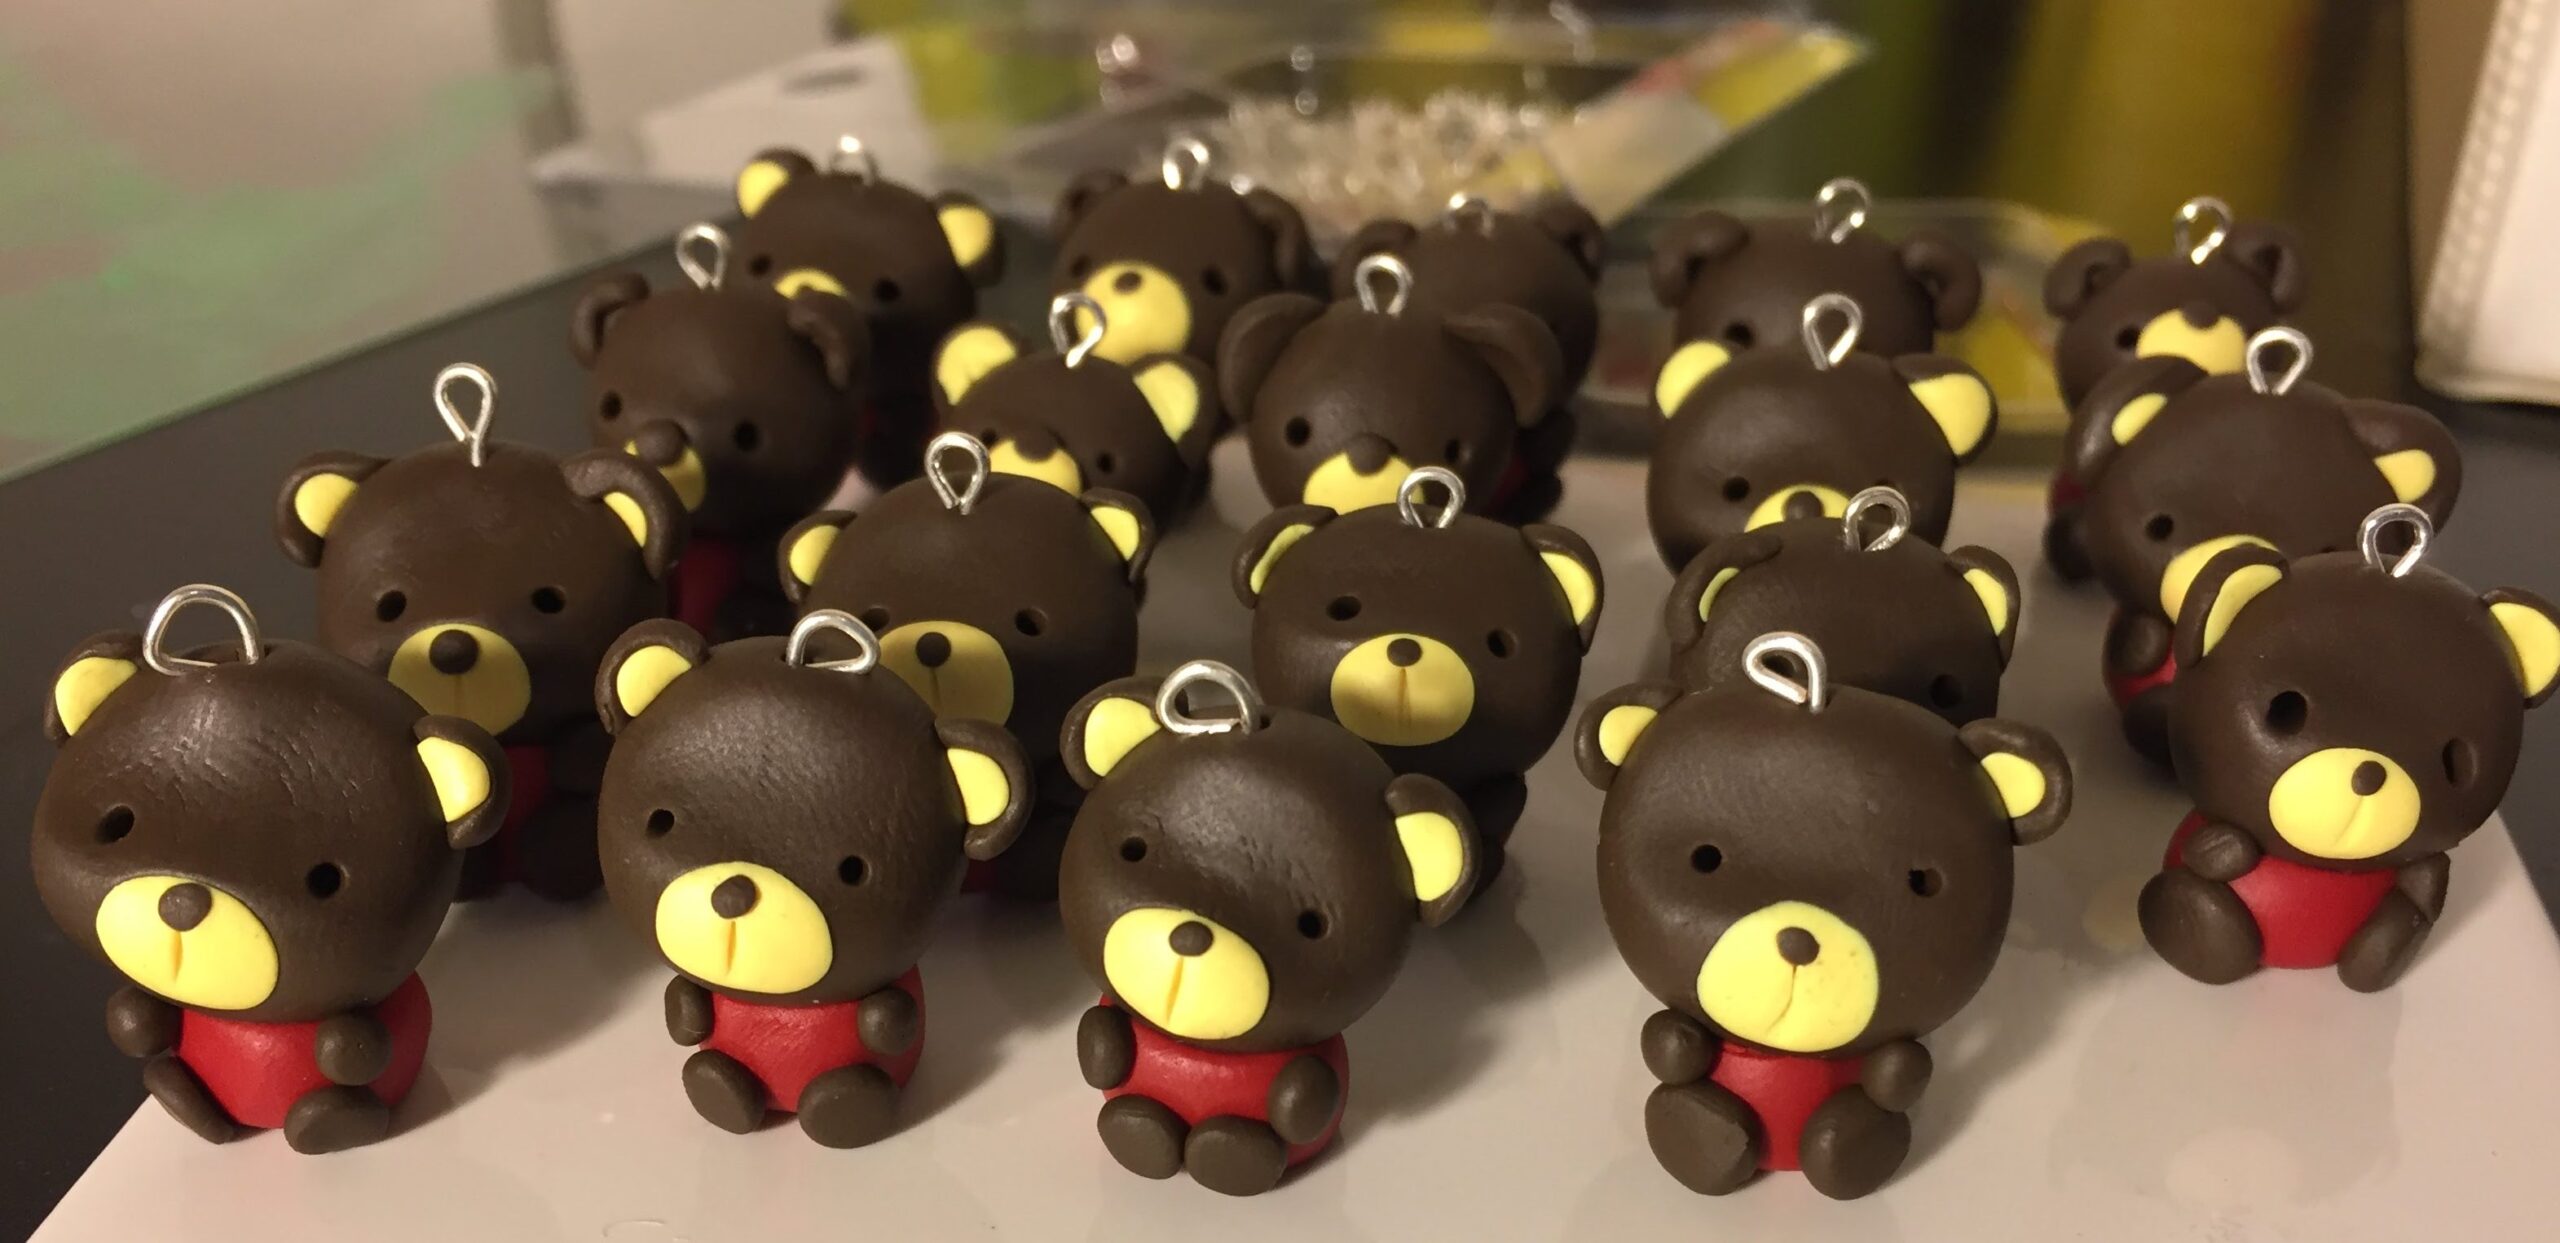
I’m making a bear army because… you never know when you’ll need one. Haha! These super cute polymer clay bear charms are gonna be gifts for teachers. I’ll also be stamping on metal and linking them together with a lanyard hook. I’ll post the finished product once it’s complete so stay tuned!
The mascot at this particular school is a brown bear with a red shirt. So here we go!
Materials:
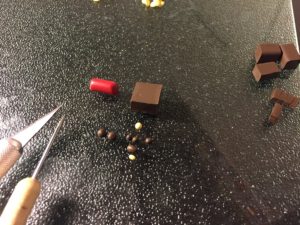
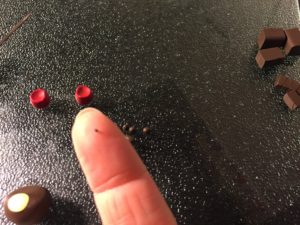
- Red polymer clay: teardrop-shaped for the body. It’s not teardrop-shaped in the picture, keep reading to find out why =P
- Brown polymer clay: 1 big piece for the head (top), from left to right: 2 small balls for the feet, 2 smaller balls for the arms, 1 small ball for the tail, 1 medium oval for the ears (bottom), 1 tiny ball for the nose (so tiny I can’t even see it in the picture!)
- Yellow polymer clay: 1 small ball for the snout, 1 smaller oval for the ears
- X-acto knife or any other sharp cutting implement
- A skewer-type tool to make the eyes (or you can roll little bits of black polymer clay instead)
Ignore the stray pieces of brown clay on the far right… I’m making an army so I have extra cut pieces.
Make a teardrop shape with the red clay for the bear body. I pre-made all my bodies but found they were too big. So here’s the first tip: make 1 from start to finish so you get an idea of proportions before you begin your assembly line! I found that a quick fix was to roll out the chubby part of the teardrop to end up with a cylinder and then cut it in half.
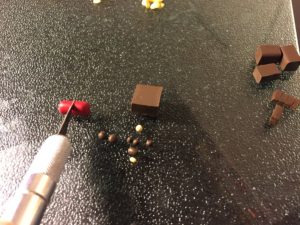
Stand them up so that cut sides are on top. I used the back side of one of my tools to make an indentation in the shirts so that the head would fit nicely.
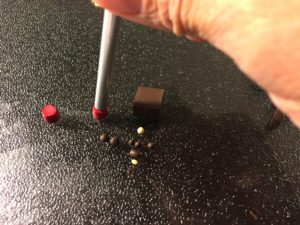
Roll the big brown piece into a slight oval.
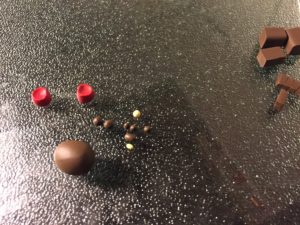
Pinch the top a little bit to give the head it’s shape. This left fingerprints on the clay. Remove the fingerprints by gently rubbing with your fingers.
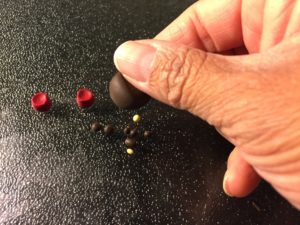
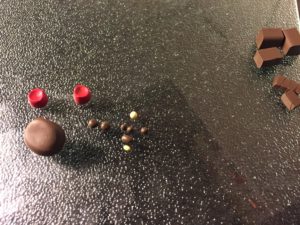
Grab the snout yellow clay and flatten it a little with the back end of the x-acto knife. I found it easier to do this on paper instead of the glass cutting board I use (I don’t use this cutting board for food, just for clay). When I flattened it on the glass, it was warped when I took it off. When I flattened it on paper, it slid right off.
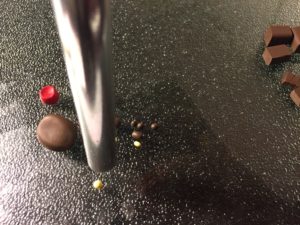
Place the snout on the edge of the indentation we made earlier. Keep flattening it until it is the size you want.
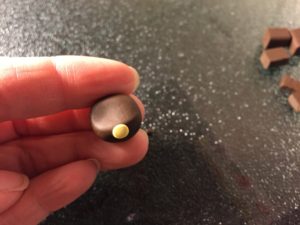
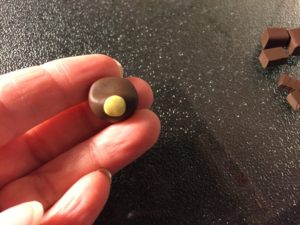
Place the nose (the tiny brown circle) anywhere on the snout. I played a little with positioning and found that I like it on the very top.
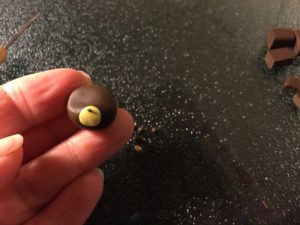
This is optional – you can make a little indentation in the snout using the blunt side of the x-acto knife. It just adds a little detail. I’ve made others without this and they look just as cute.
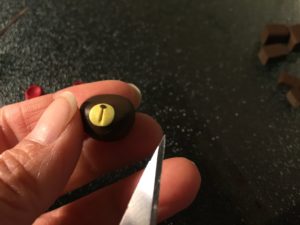
Using the skewer tool, make the 2 eyes.
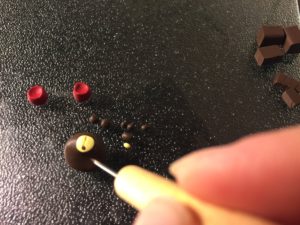
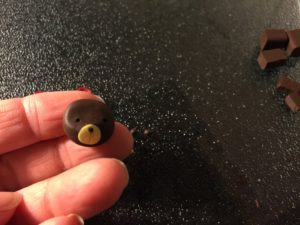
Onto the ears. Flatten the brown oval clay a little (remember, do it on top of paper). Then place the yellow oval on top.
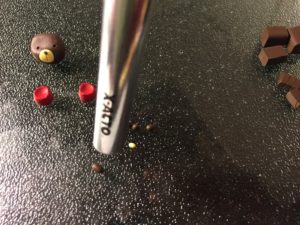
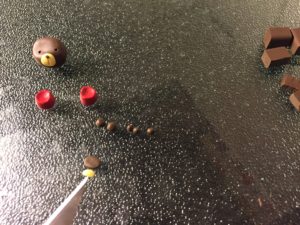
Flatten again.
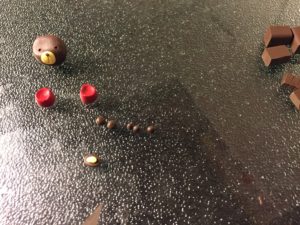
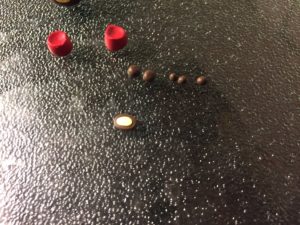
Using the x-acto knife, cut it in half and place the ears on the head.
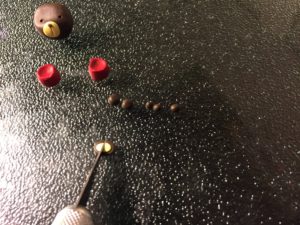
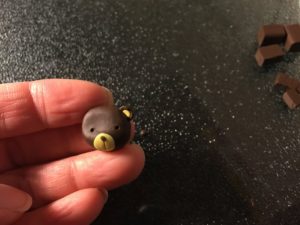
Add the body.
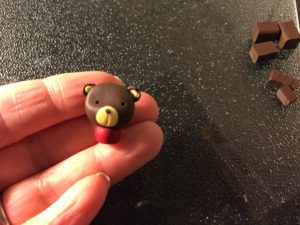
Flatten the legs a little bit
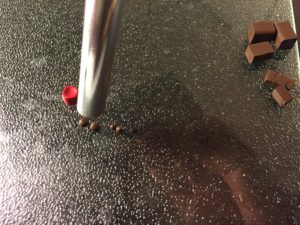
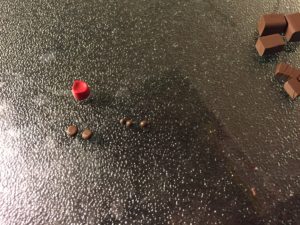
Place the legs and arms on the body.
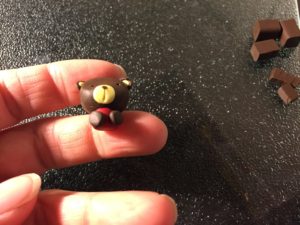
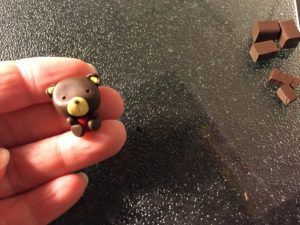
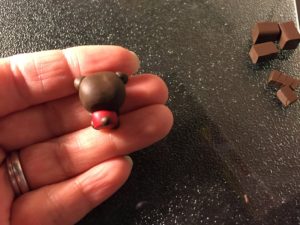
Don’t forget about the tail!
Add the eye pin if you’re turning it into a charm and then it’s ready to be cured! Follow the instructions on the package and then glaze it if you want to.
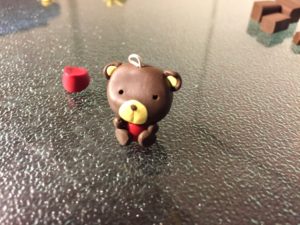
Stay turned for my next tutorial (metal stamping) to see the cured and glazed little bears.
