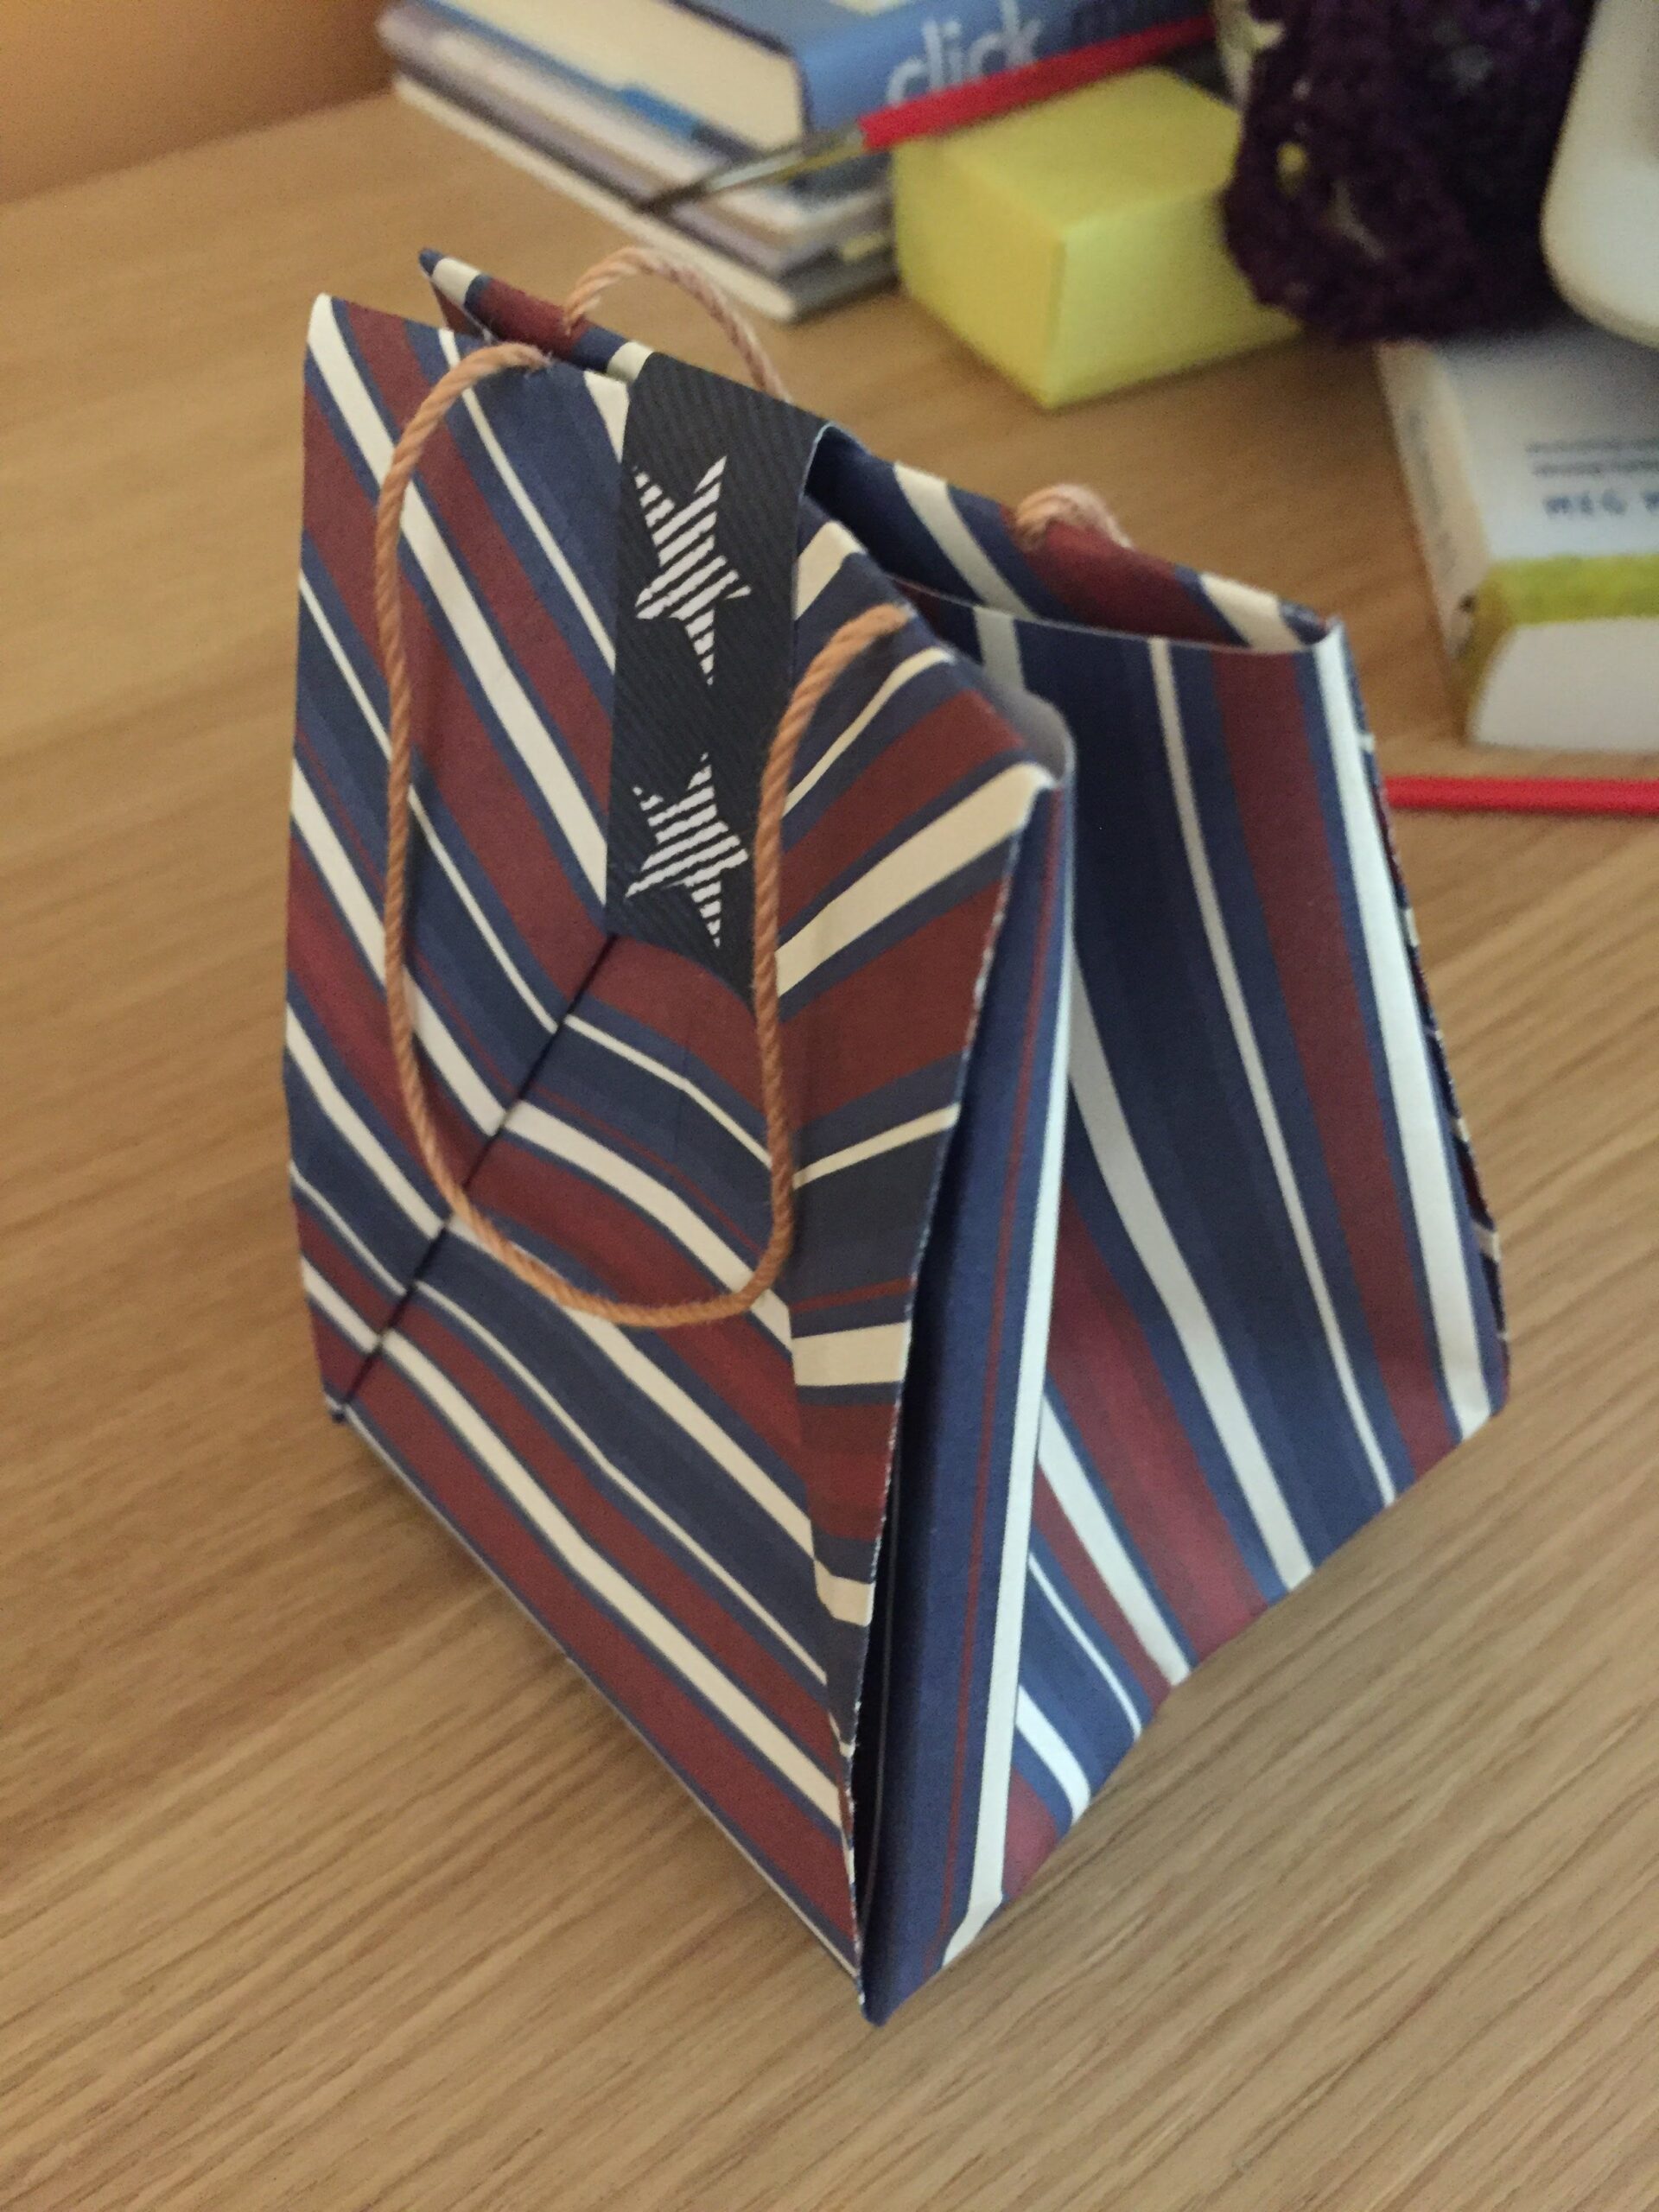
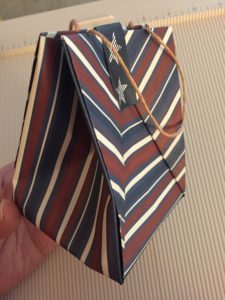
I checked out the book “Origami” by Ghylen Descamps from the local library and found a super cute bag. Not sure exactly what I’ll end up putting in them but I decided to make them anyway. They’re too cute to pass up!
Materials:
A square piece of paper (the book used 20cm x 20cm). I am using 12in x 12in.
A strip of coordinating paper
A strip of yarn, or embroidery thread, or cord (will be used for the handles)
An awl, or needle
Instructions:
First, fold the paper in half to make a rectangle.
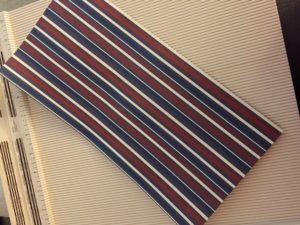
Next, fold it diagonally. Unfold and fold diagonally again to make an X crease line. Unfold.
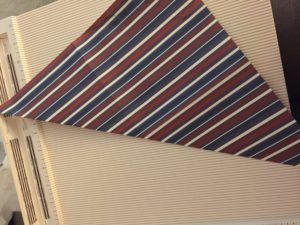
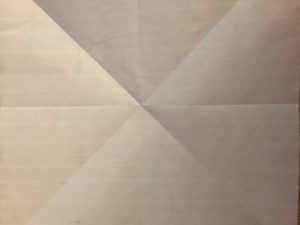
Fold it in half again towards you to make a rectangle.
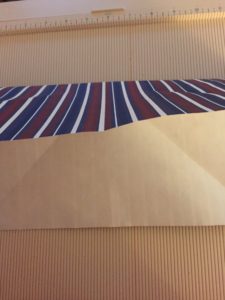
Bring the right creased edge towards the center forming a triangle on one side.
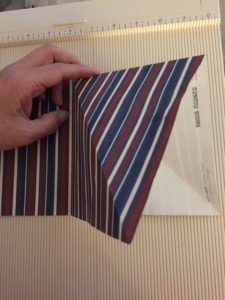
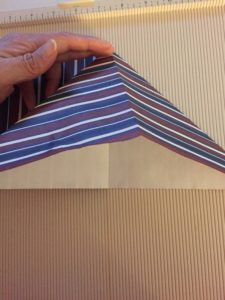
Repeat on the other side
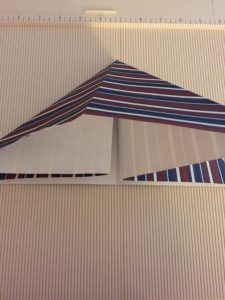
Flip your work upside down
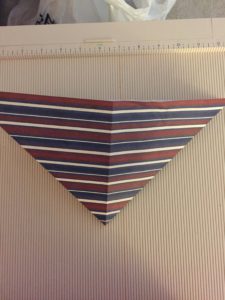
And here is where the book isn’t very clear with measurements. You’re basically deciding how wide an opening you want on top. Since my paper is 12×12, the middle of the bag is at the 6″ mark. I decided to make the opening 3 inches wide so I am going to fold the paper at 4.5″ and 7.5″. Let’s use the 7.5″ side to illustrate the folds.
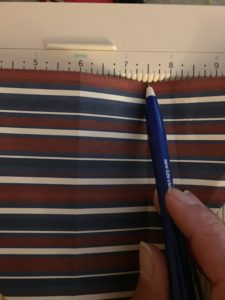
Fold the right corner (only the top one) across to the left (horizontally) at a little bit of an angle. The bigger the angle, the wider the bottom of your bag. I wanted mine to be just a little wider on the bottom so the angle is very small – you’ll miss it if you don’t look closely:
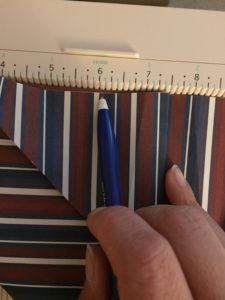
Next, fold it back towards the right making a sharp corner on the bottom and aligning the side with the fold crease we just made. Since my paper’s pattern can be dizzying, I inserted a white receipt I had laying around to hopefully show this fold better
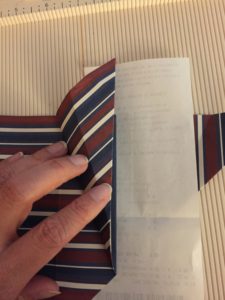
Repeat on the other side
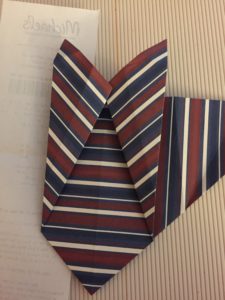
Flip the work and repeat
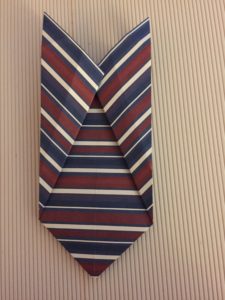
Now we’re gonna fold the 4 corners that are sticking up into the bag. Open the bag and align the fold of the… let’s call them owl ears… into the bag aligning them with the inside top edge.
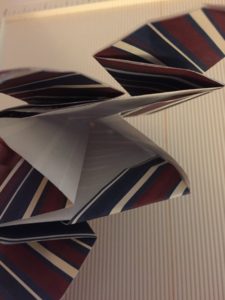
Repeat with the remaining 3 owl ears.
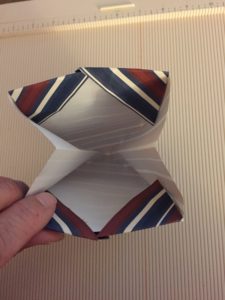
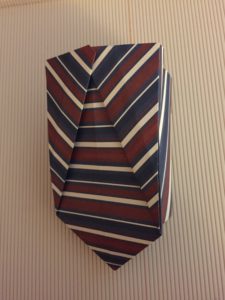
Open the bag and flatten the bottom
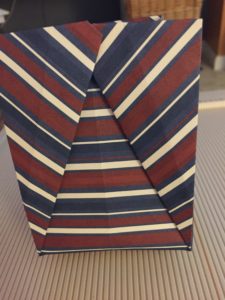
Next, let’s add the handles. Unfold the owl ears and pierce with an awl (or use a needle & embroidery thread) along the crease line
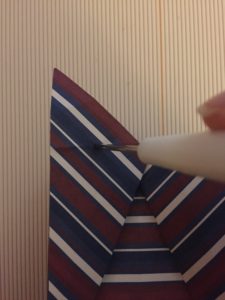
And repeat for the other side
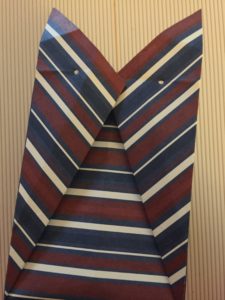
Insert the yarn (or twine, or chord, or ribbon, etc. Get creative!) and tie a knot or double knot so that it won’t slide off.
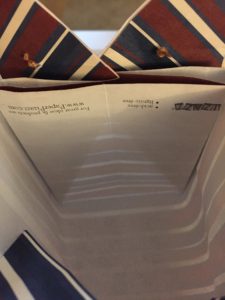
Glue the owl ears down and repeat on the other side.
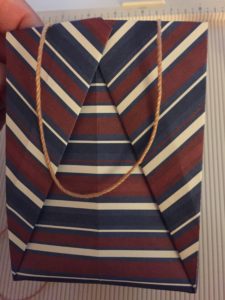
Grab the strip of coordinating paper and glue shut after putting your goodies inside. There you have it! Super cute, isn’t it? I am thinking of using washi tape instead of the strip of paper to seal it shut because it will be faster.
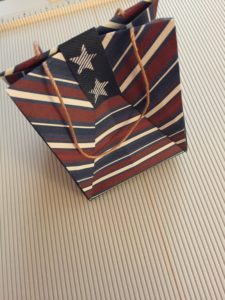
Thanks for stopping by.
