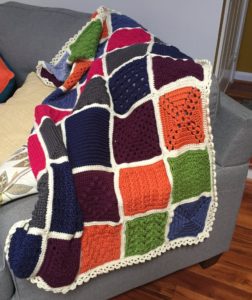
I did it! I finally crocheted enough granny squares to make a blanket! Remember I started this project years ago? I was afraid it would take even more years to complete but turns out I was further along than I thought… what a nice surprise haha! Plus, I decided to make the blanket a little smaller than I originally planned (6 squares x 7 squares) =P
So gather all your 7 inch squares (if you haven’t started yet, I have a handy tutorial here). I changed the border color from dark grey to off white because I felt it was gonna be too dark otherwise and I used a few different stitches.
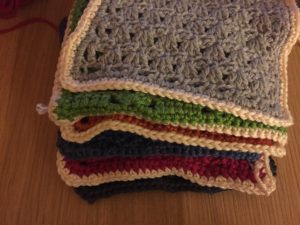
Arrange your squares in an order that is pleasing to you and start assembling rows. Stack 2 squares, wrong sides together and whip stitch using only the outside loops.
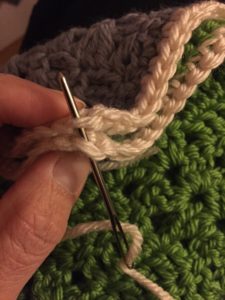
If your squares aren’t exactly the same size (mine weren’t), stretch the smaller one to make them the same size – that’s the beauty of yarn! Make sure you start with the corner stitch and whip stitch away.
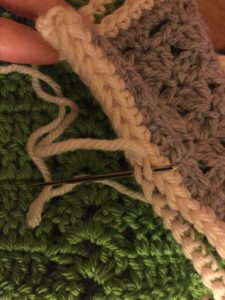
Use only the outside loops of the stitches so that the seams lay flat and they don’t bulge.
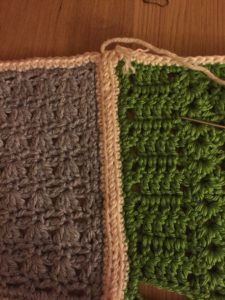
Continue stitching more squares until you finish a row of 6 (or however wide yours will be). Then move on to the second row (stitch 6 squares together), then the 3rd, etc. Once you have all the rows done, whip stitch the rows together following the same method.
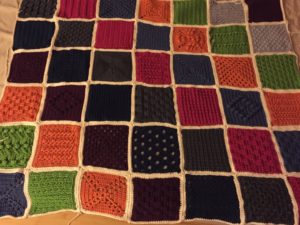
Here’s what I ended up with. Next, the border.
Slip stitch anywhere and single crochet in every stitch. Do 3 single crochet in every corner.
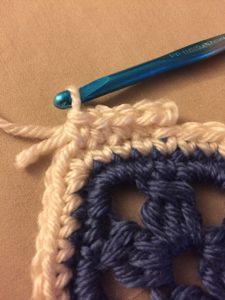
When you get to a seam where you whip stitched squares together, make sure to grab both loops (not just the outside loop) and single crochet.
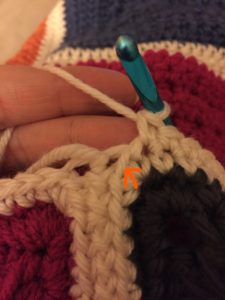
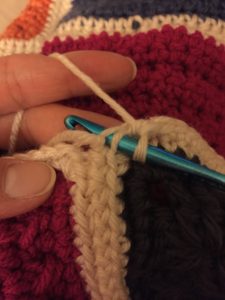
Next, grab both loops of the other corner and single crochet
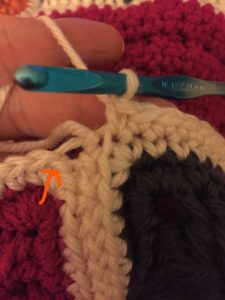
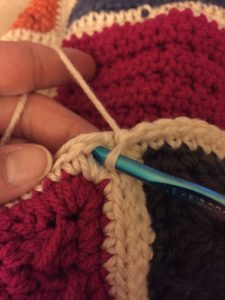
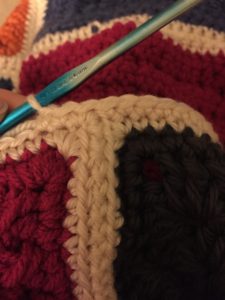
Slip stitch to close. Then you’re ready to add any border you’d like. I picked a super simple one. If you want the instructions for this border send me a message (and while you’re at it, like my facebook page or subscribe). I’d be happy to send you the pdf.
