My two little guys have a growing collection of Legos and while having them stored in their cute little Lego-looking boxes worked somewhat till now, they are in need of a dedicated area to build. I searched online and found many options, including DIY so obviously I had to pick DIY.
I asked Nick: “how old were you when you outgrew Legos?” Nick’s response was a blank stare… apparently there’s no such thing as outgrowing them lol! Ok, so we decided we wanted a table where no matter how old or tall they get, they would still be comfortable building – including daddy. That ruled out nightstand- and coffee table-height. We went to IKEA and found a table for $39! Sold.
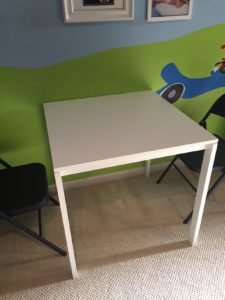
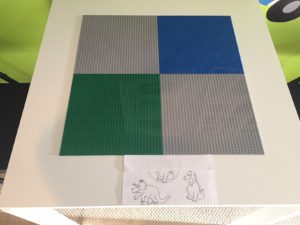
After building the table, we laid out the base plates in a color arrangement that worked for the munchkins – they had a lot of input (green grass, blue water, gray cave)! After arranging and rearranging, we ended up with the “perfect” setup. Unfortunately, 3 x 3 was a little large for the tabletop and while I’ve seen people cut the plates down to size, I decided I would just do 2 x 2.
Next, to find the center of the table… instead of grabbing the speed square, or measuring tape, I decided to grab a piece of paper – it was right there and I was overcome with lazy-itis just thinking about going to the freezing garage and looking for the tools. Basically, I laid out 2 plates starting on one edge and filled the remaining space with paper. Folded the paper to fit exactly to the edge of the table. Being precise is important here.
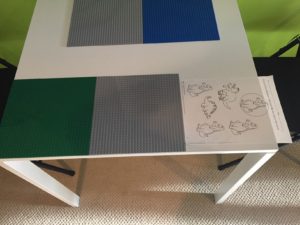
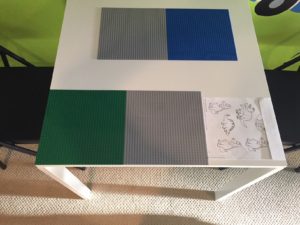
Next, fold the paper in half. This should be the space you leave around the whole table. I laid them all out and double checked with the make-shift spacer.
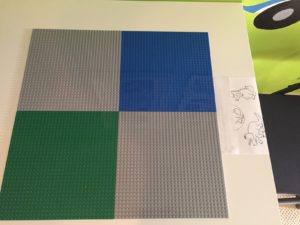
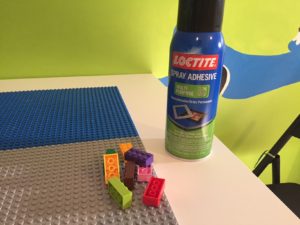
For the adhesive, I used Loctite multipurpose spray adhesive and also grabbed some Lego pieces to help ensure that the base plates are aligned with each other.
I had the box that the table parts came in so I sprayed the plates on it to protect the other surfaces.
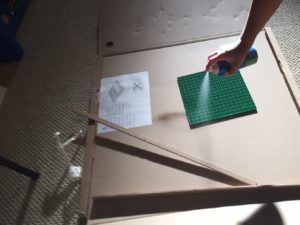
After spraying the first plate, I positioned it on the table being very careful not to nudge the other plates and double checked with the paper spacer to make sure it was in the right spot. The first one is the most important one to get right because the rest will just fall into place using Lego pieces to ensure they are aligned.
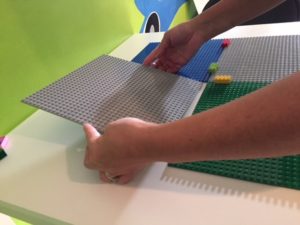
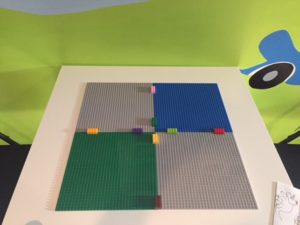
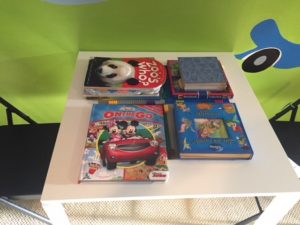
Finally, lay down some books on top and let it dry.
My two little guys are certainly excited to get started building on their new table. I hope you found this helpful. Thanks for stopping by!
