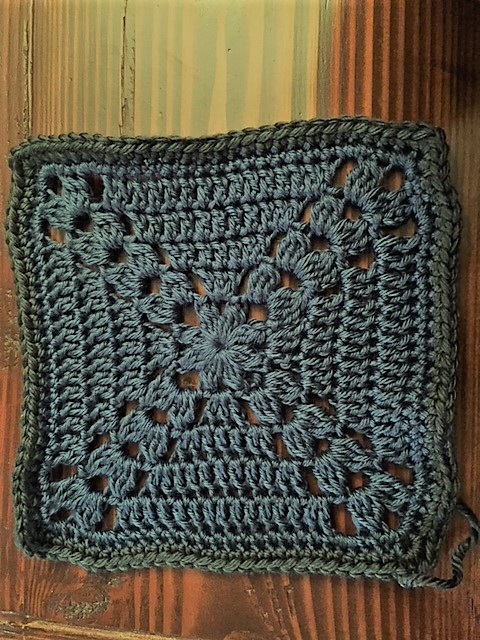
To be honest, I started this blanket years (!) ago…. I worked on it for a little while then it got put away until recently. But that’s one of the things I like about this type of blanket (granny square blanket), that you can work on it in stages.
Basically, you crochet little squares (as little or big as you’d like but keeping all your squares consistent once you’ve chosen a size) and then you put them together at the end making a bigger blanket. In this tutorial, I’ll be showing you how to crochet 1 of those squares. In a later post, I’ll show you how I put them all together.
You can customize this to be:
- any type of yarn – thinner yarn will yield a lighter blanket, chunky yarn a thicker one, baby yarn a super soft one, etc. Thinner yarn also means you’ll need to crochet more rows to get the same size as a chunky yarn one.
- any color of yarn – every square can be the same color, or make every square a different color, or make every square multicolor, etc.
- any stitch – you can make every square be the same stitch (for example single crochet for something very simple) or you can make every square be a different stitch.
I will be making mine 7 squares across and 9 or 10 down (Nick is really tall so I want to make sure it’s long enough that it will cover his feet ). So I need to crochet 63 – 70 squares. It’s making sense now why I had it stashed away for a while!
Materials needed: yarn (i’ll be using Red Heart Soft), crochet hook (I’ll be using size H), a yarn needle (I like the stainless steel ones because I’ve broken the eyes of the plastic ones before), and a pair of scissors.


On to the tutorial (part 1 of 3)
Not sure what happened the the audio at the end but basically if your magic circle’s tail is looking short, pull it a little. You should always crochet on 2 strands of yarn when you’re crocheting in the magic circle.
Part 2 of 3:
Part 3 (in pictures):
The next 2 rounds are essentially the same, so repeat these steps again once you finish this round:
Slip st into the ch 3 space. Make a cluster, ch 3, cluster in that space.
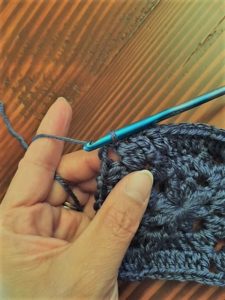

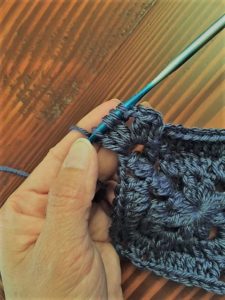

Ch2. 2 DC in the next ch2 space.
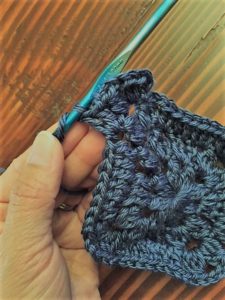

DC in each DC to the next Ch2 sp. 2 DC in that space. Ch2. And repeat until the end of the round. Once complete, repeat for another round. You should end up with 5 rounds.
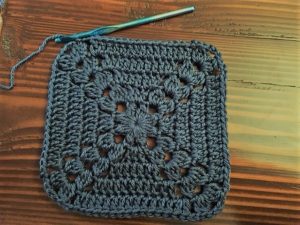

Ch1, 3 sc in the same space (and in every corner). 3 sc in the next ch2 space (and every ch2 space). sc in every dc across.
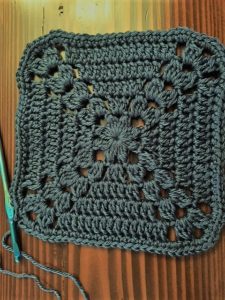

The difference between the two last pictures is subtle but look closely at the edges (especially the corners).
If you’re only using 1 color for your whole afghan blanket, do these steps with your same yarn. I’m gonna be using 3 colors in all so I’ll need to switch to another color for the next round. Cut the yarn and finish off.
Slip st into the center sc of any corner. I like to start on a different corner than the one I cut the yarn off previously.
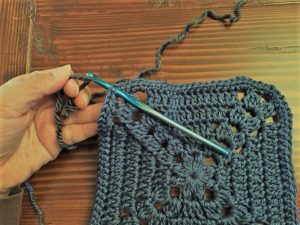

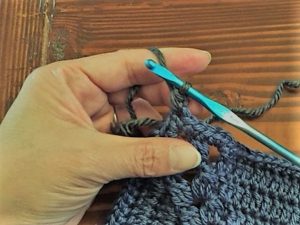

Ch1, 3sc in the same st. SC all the way around to the next corner. 3sc in every corner. Repeat until you reach the beginning of your round.
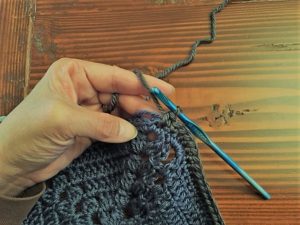

Sl st to beginning sc to close. Cut the yarn and finish off.
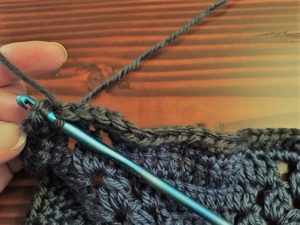

Congratulations! You finished 1 granny square.


Keep working on these whenever you have a free moment and before you know it, you’ll have enough to make an afghan. I will continue to do so as well. Come back when you’re done (hopefully I’ll be done too!) to see how to put all your squares together.
Hope you enjoyed this tutorial. Please let me know if you liked the video or photo / text version better.
